Figure 1
The Headlight switch on my Europa stopped working recently. Neither the headlights or the parking lights would come on. I checked into getting a replacement switch and found that they are hard to find and expen$ive (probably because they are hard to find). Like my problem with the window rocker switches, I had nothing to lose so I decided to try to fix the switch. In my case, I found that the repair was relatively easy.
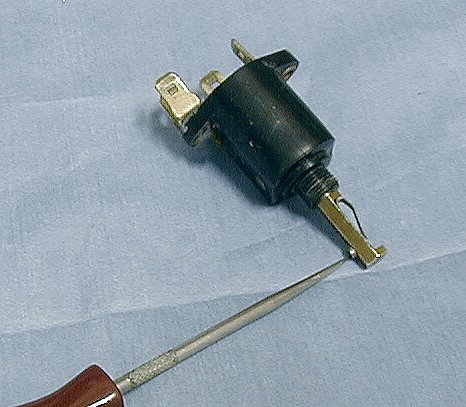
To remove the switch assembly from the car, depress the shaft pin with a pointed instruement through the hole on the side of the knob and pull the knob off the shaft. Unscrew the chrome ferrule and push the switch out of its mounting hole. Note or label the wiring assignemnts to the switch (3 wires). Remove the wires from the switch lugs. Figure 1 shows how the pin part works.
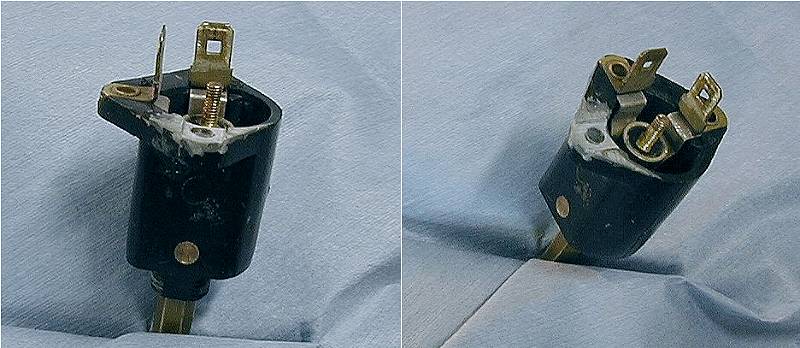
The image in Figure 2 is a view of the switch with the center wiper barrel removed. Notice that the structure for the left contact is displaced from its correct position. This probably happened due to excessive heat that resulted from poor contact inside the switch. The result of this displacement was that the no contact was made between the wiper and the rotating piece.
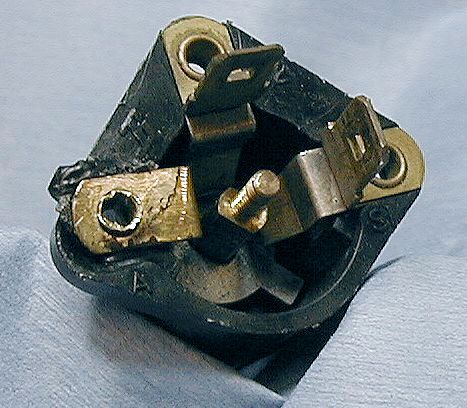
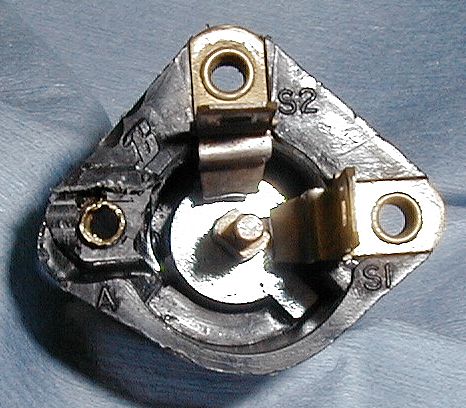
Figure 3 shows the housing condition after removal of the contact. The contact was removed by carefully drilling the rivet head. The remaining rivet was then carefully drilled out. Be careful not to drill too fast or use too much pressure as you don't want to break the housing structure.
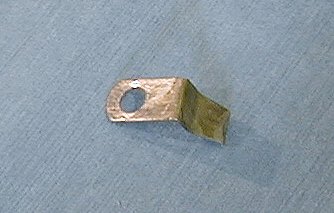
The removed contact is shown in figure 4.
I mixed up some J-B Weld and filled in the area where the contact mounts. After the J-B Weld hardened, I filed and shaped the surface to hold the contact. Then I drilled a 9/64" hole for a 6/32 x 1/2" mounting screw as in figure 5.
Next I mounted the contact and connector lugs to the switch body with the screw. I used a flat washer and a lock washer under the nut. You will probably have to grind some metal from the side of the washers to clear the switch body as shown in figure 6. Figure 7 shows the completed assembly.
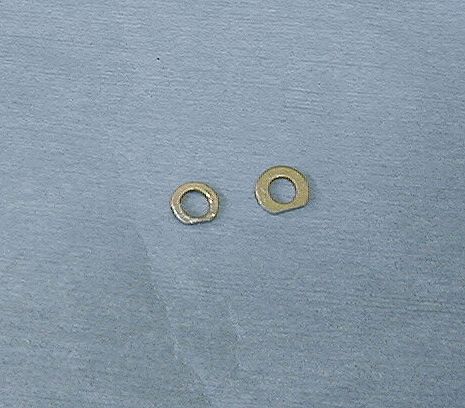 Figure 6 |
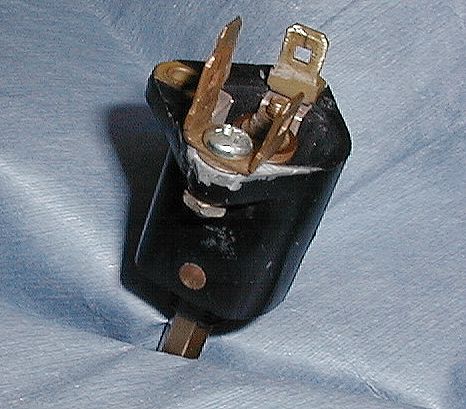 Figure 7 |
Last update: 18 May 2003