|
|

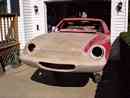
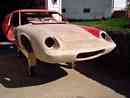
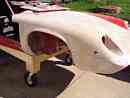
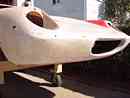
 October 2006 Activity Log October 2006 Activity Log 
10/30/06
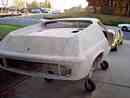
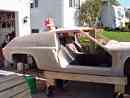
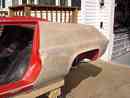
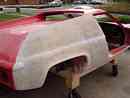
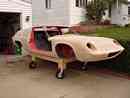
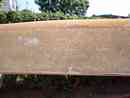
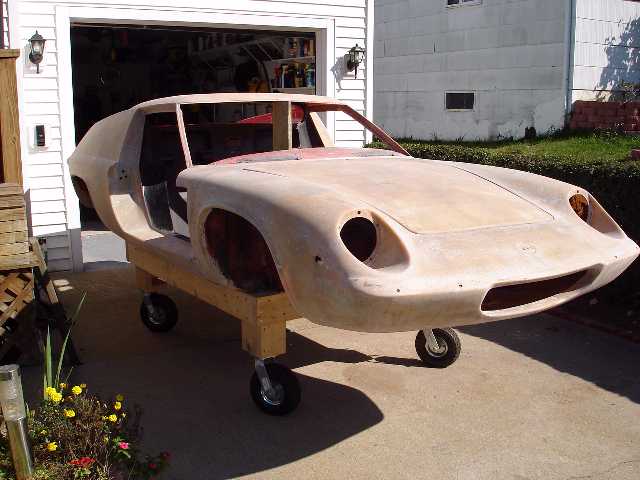
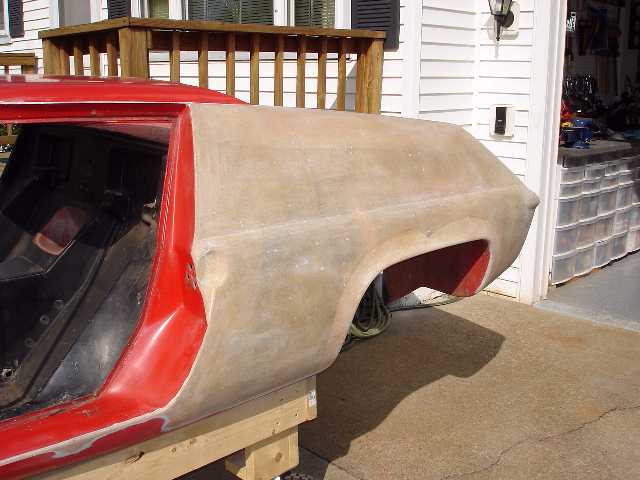
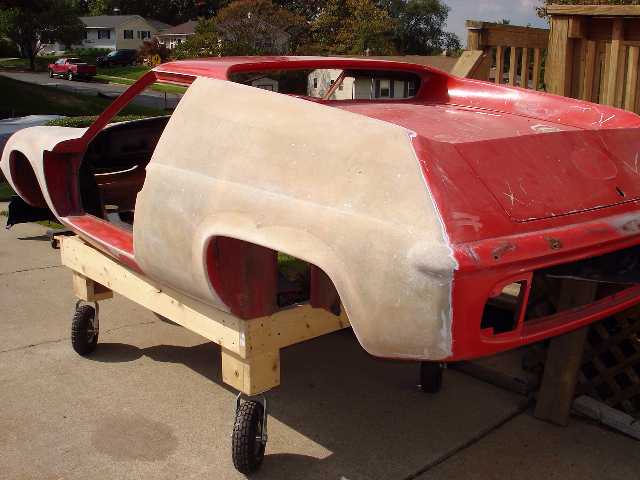
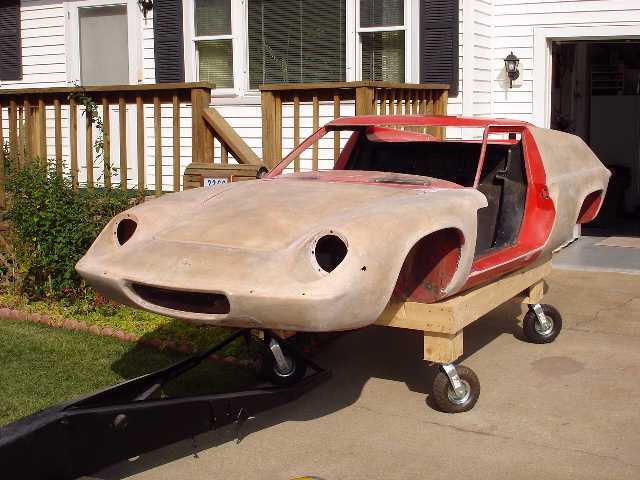
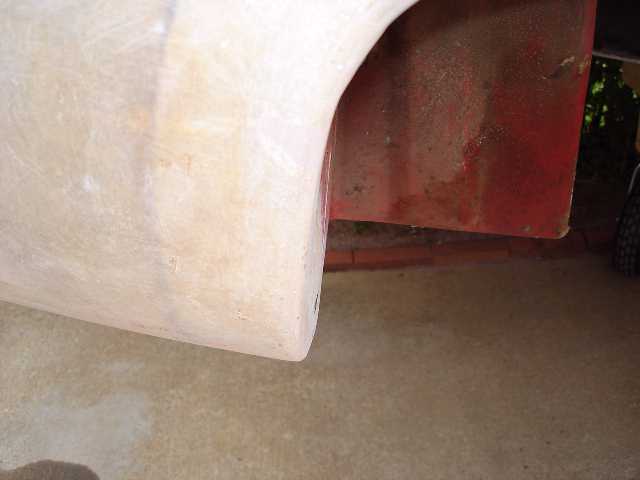
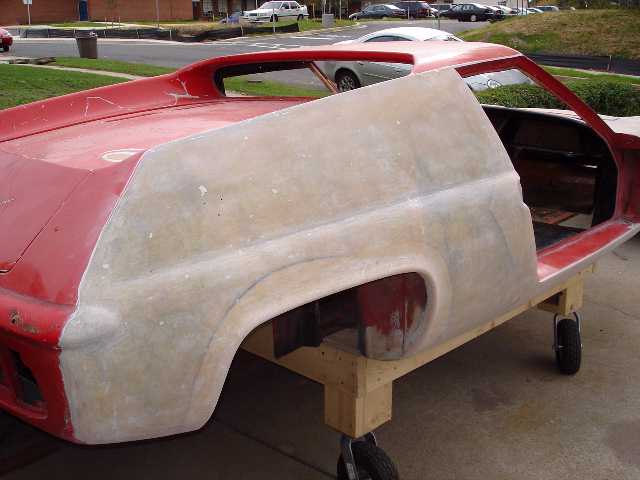
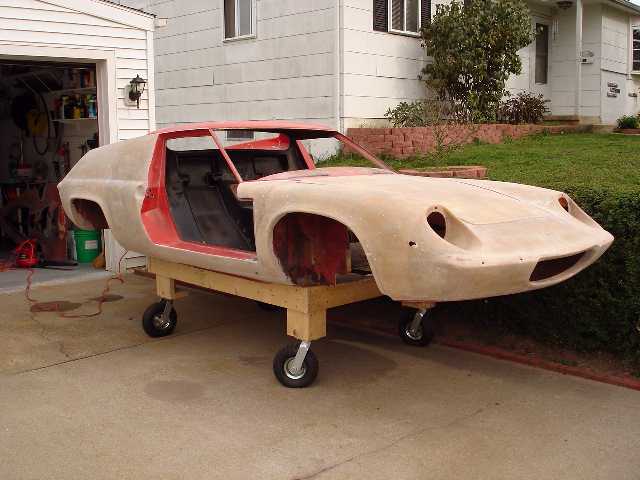
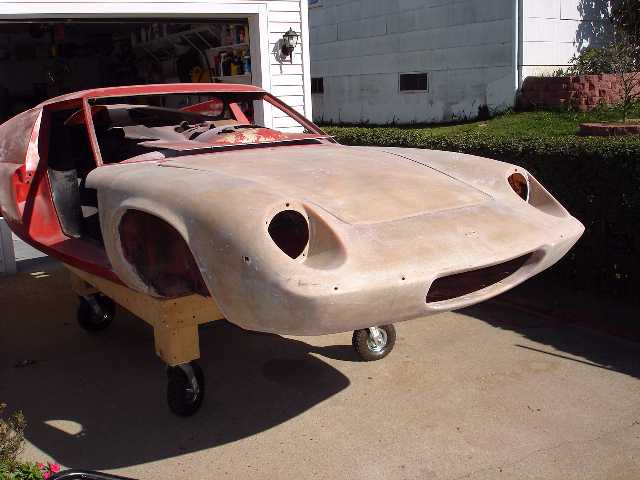
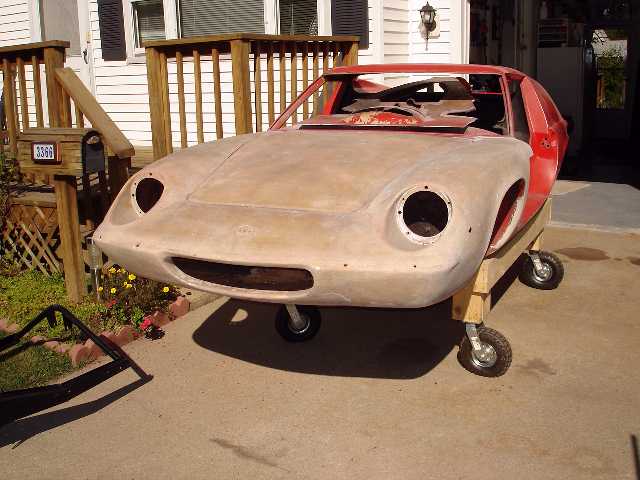
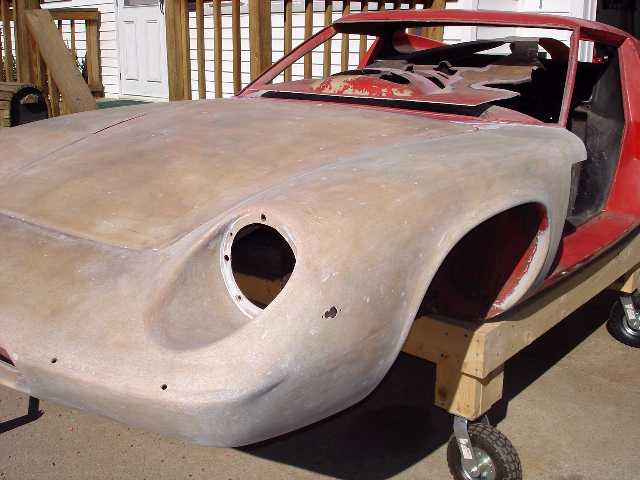
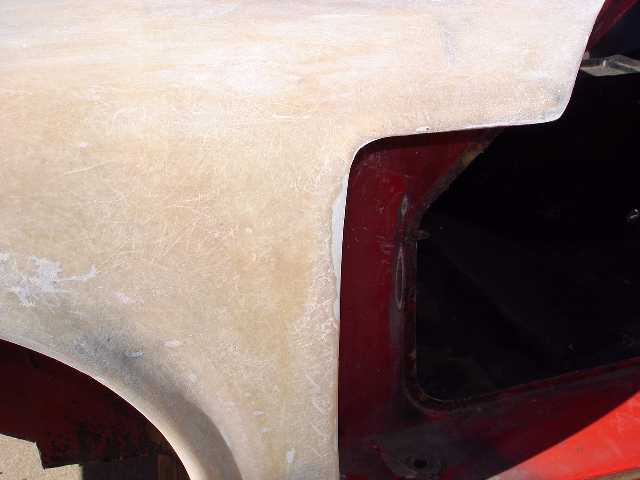
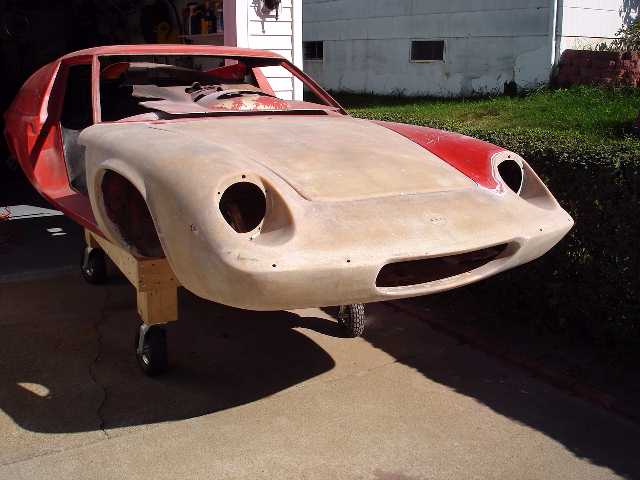
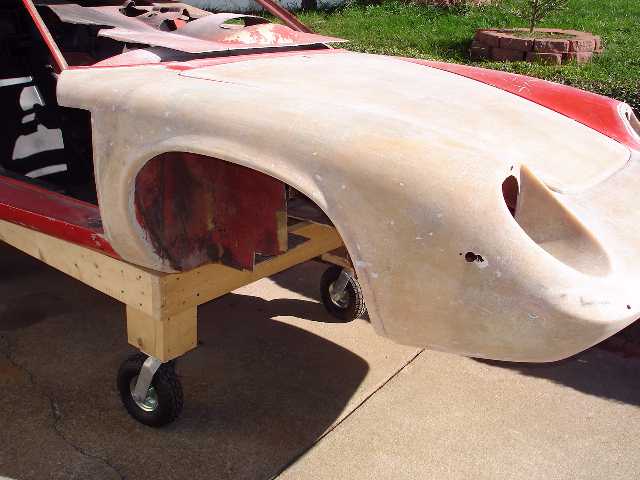
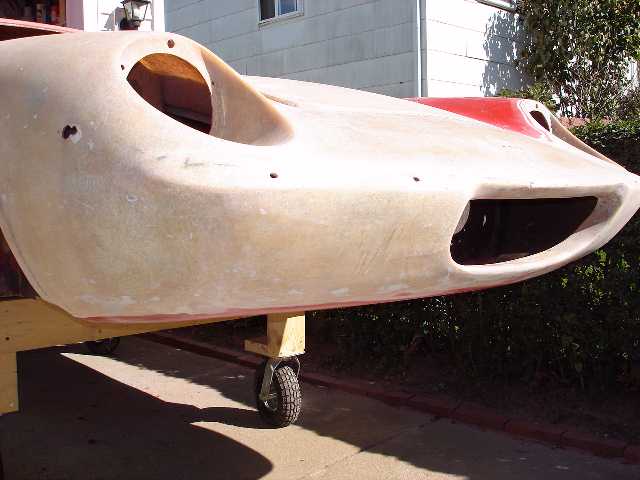
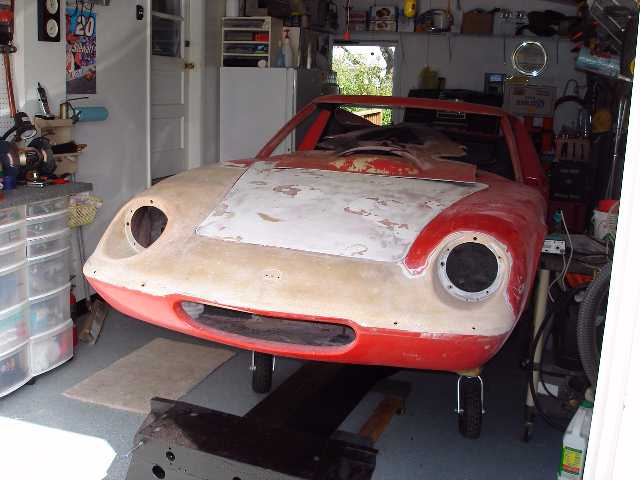
S1A - Finished most of the exterior sanding today. Some small areas that need hand-sanding remain, but I can see the light....
Paint stripping albums:
Front/Right Quarter - Left/Right Sides - Engine Cover/Rear
10/30/06
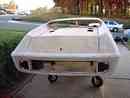
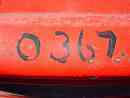
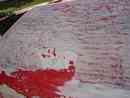
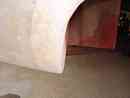
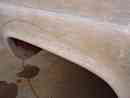
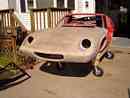
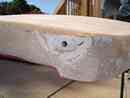
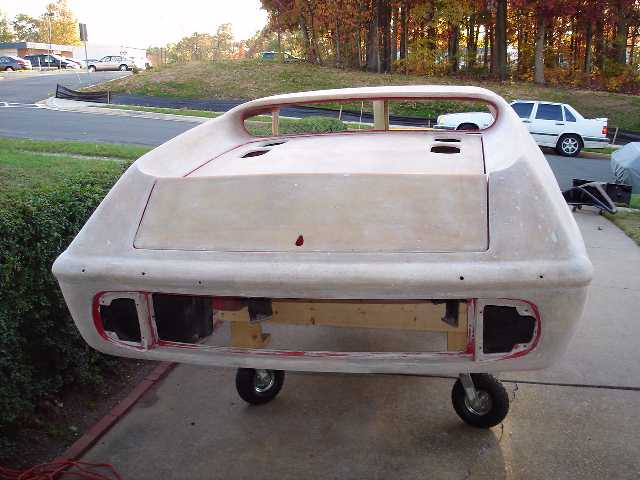
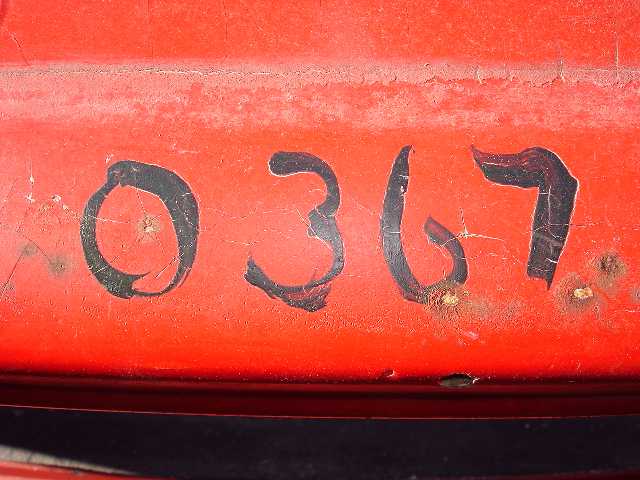
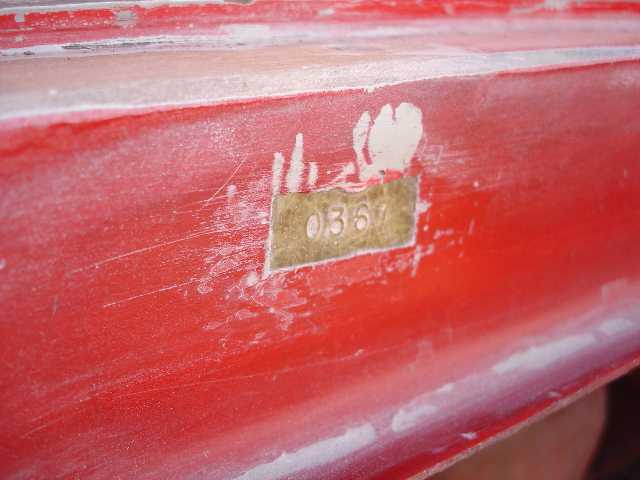
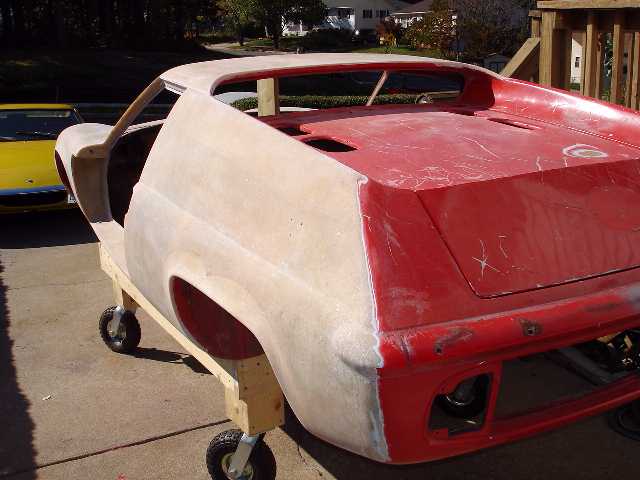
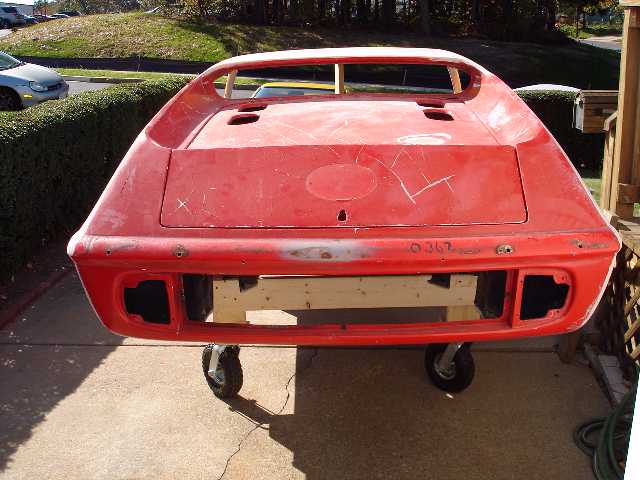
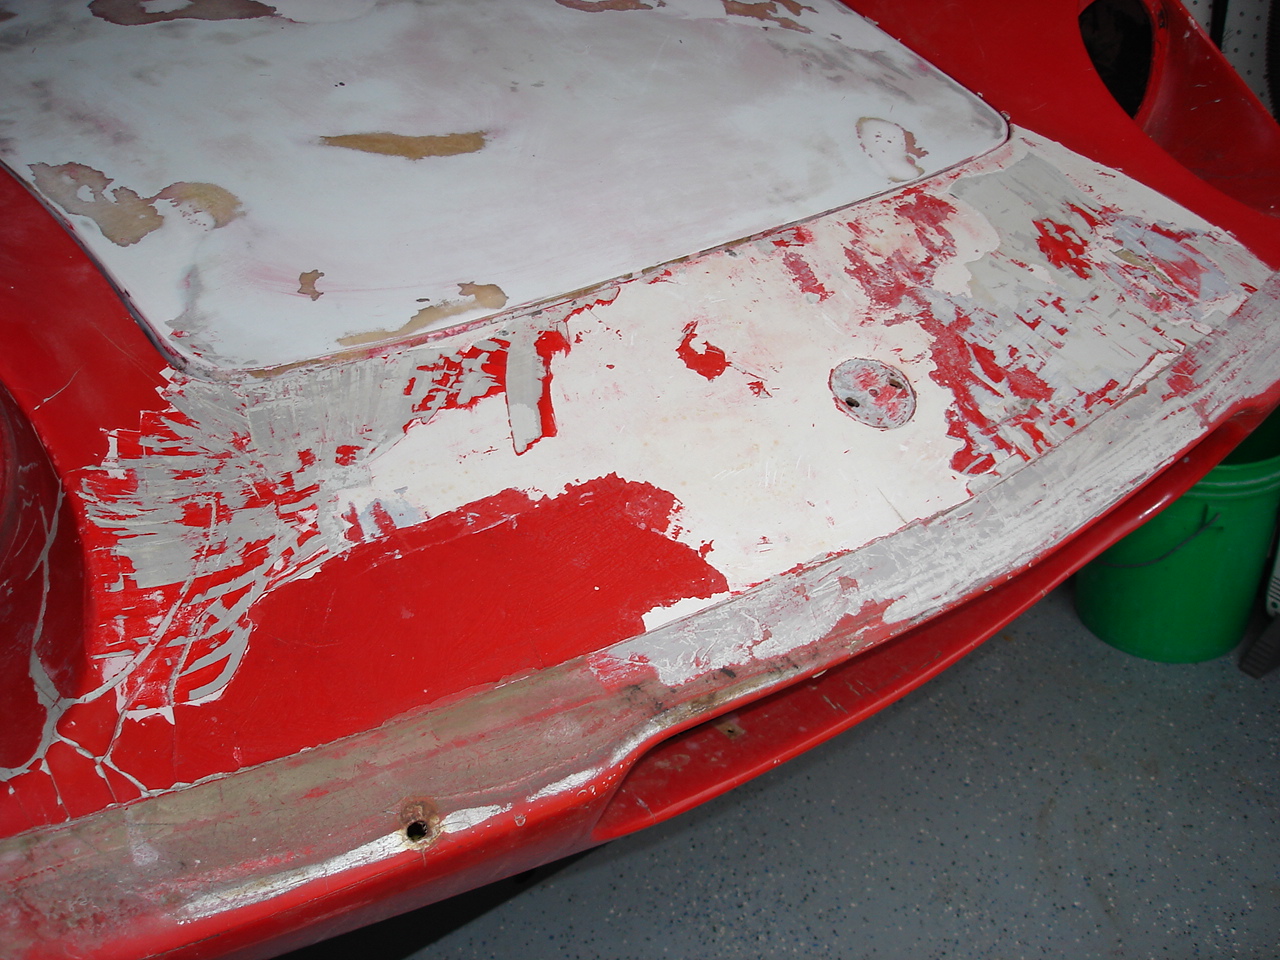
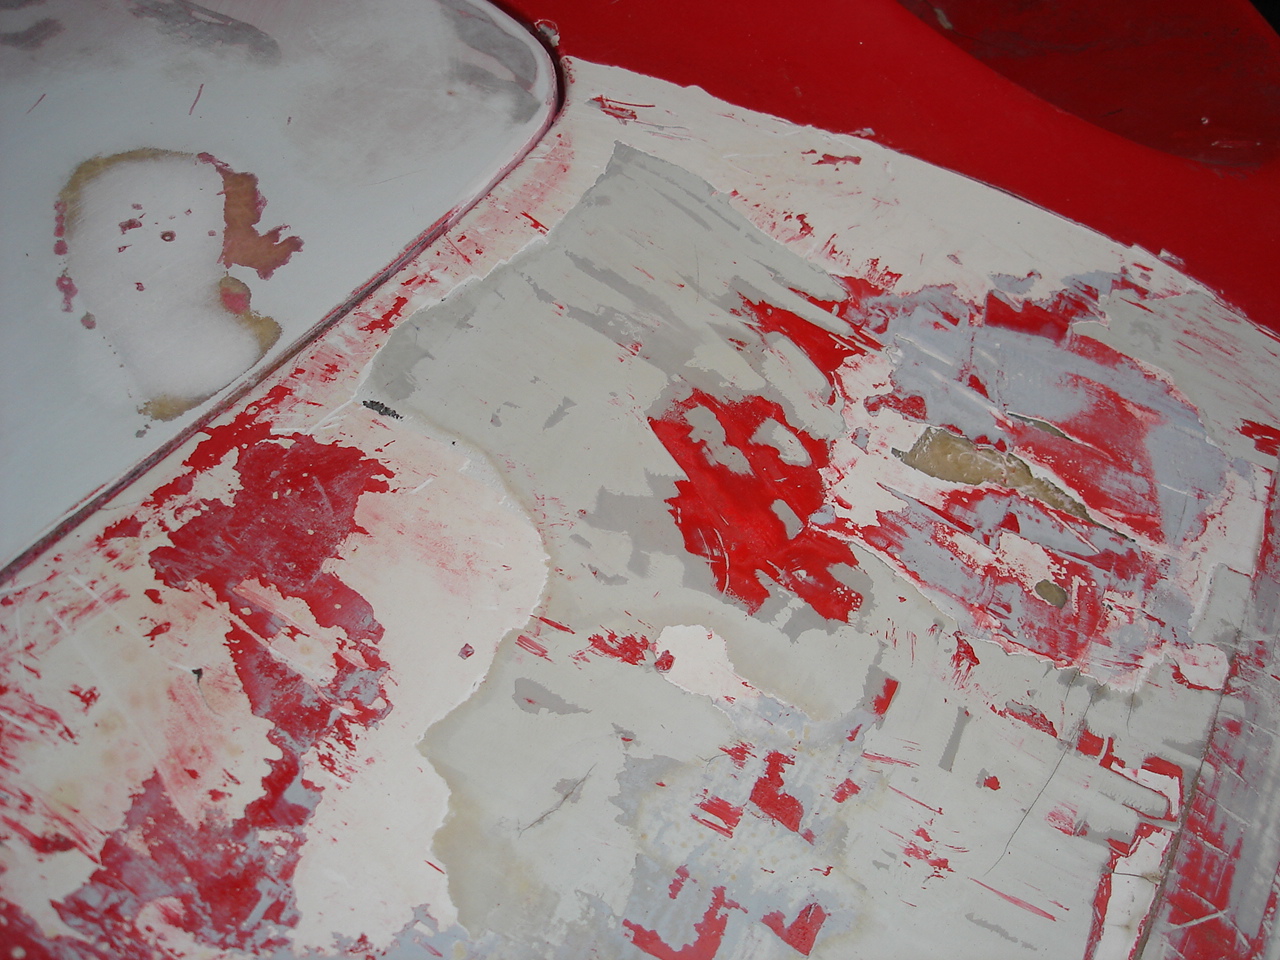
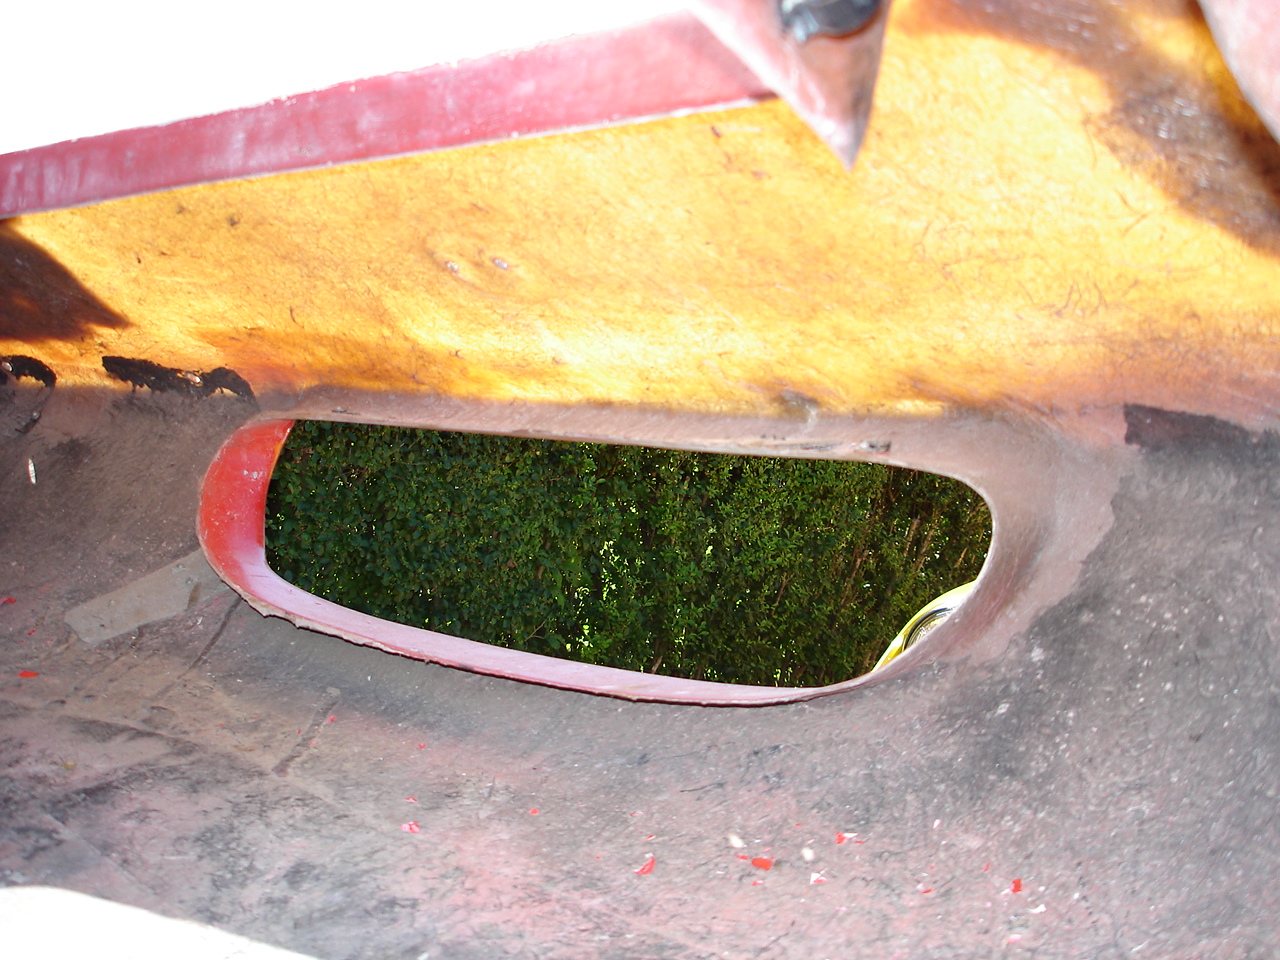
S1A - Stripped the rear and most of the inside of the sails today. Next is the engine cover then wheelwells, bonnet and engine cover channels and interior. Discovered that the body number (0367) was printed on a Dymo label near the left engine cover hinge. When I removed the label the number was raised in the fiberglass. Wife went a little crazy with the camera!

Paint stripping albums:
Paint stripping albums:
Front/Right Quarter - Left/Right Sides - Engine Cover/Rear
10/26/06
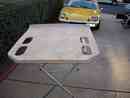
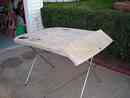
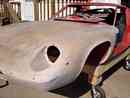
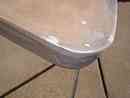
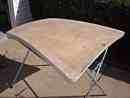
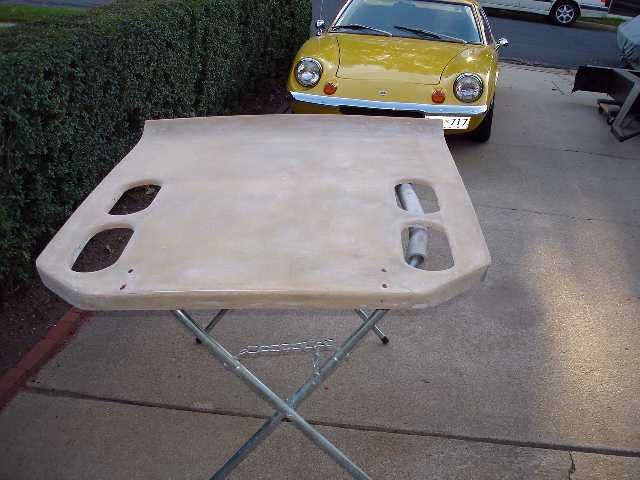
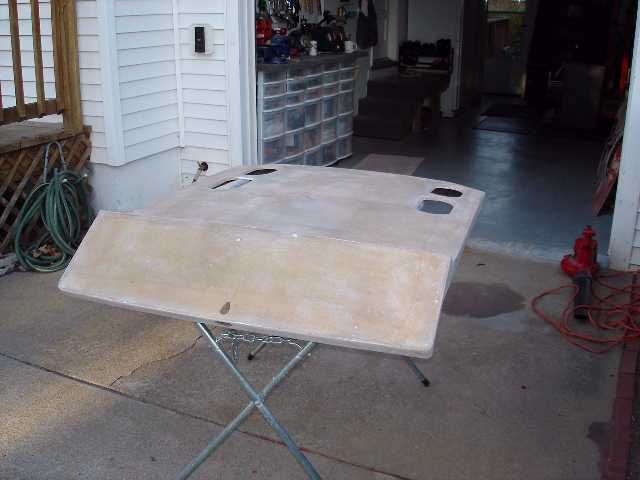
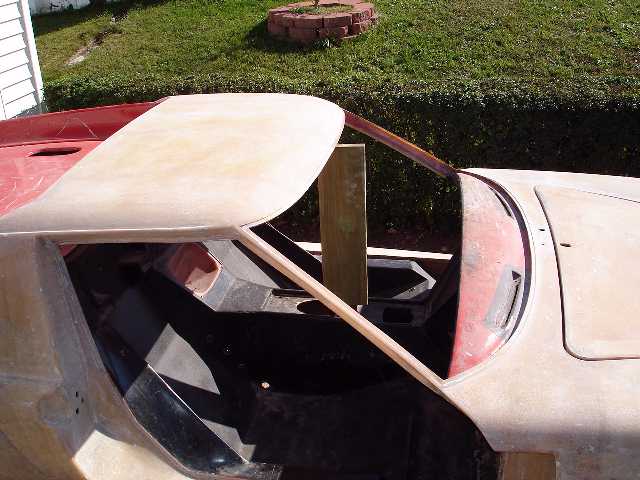
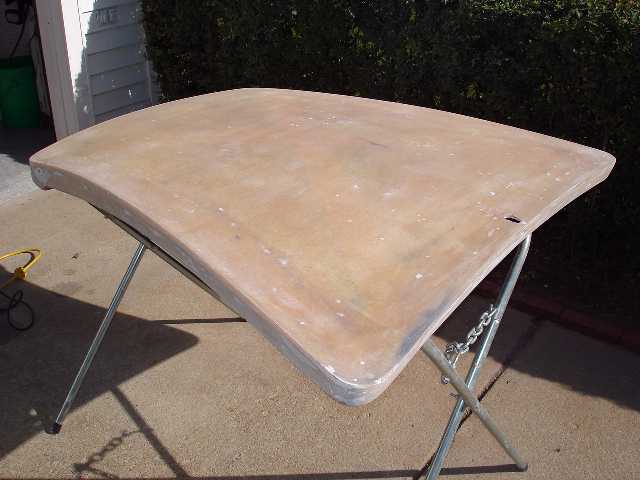
S1A - Finished stripping the top and cowl. Installed a prop to support the top while I was working on it as it is very flexible with the windshield removed. Next to be stripped is the inside of the rear sails and the engine cover.


Paint stripping albums:
Front/Right Quarter - Left/Right Sides - Engine Cover/Rear
10/23/06
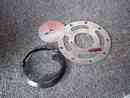
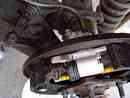
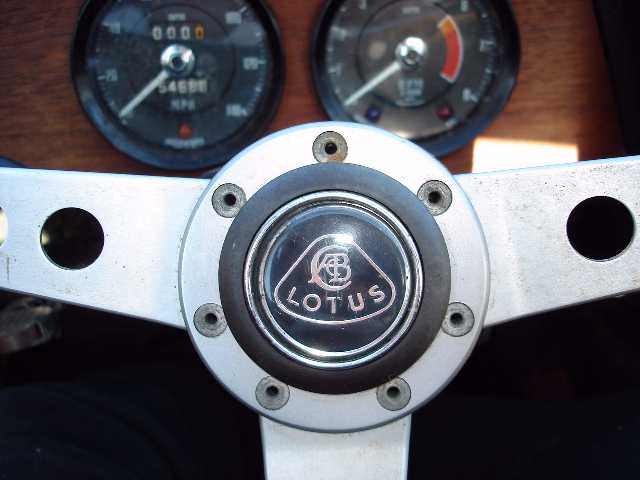
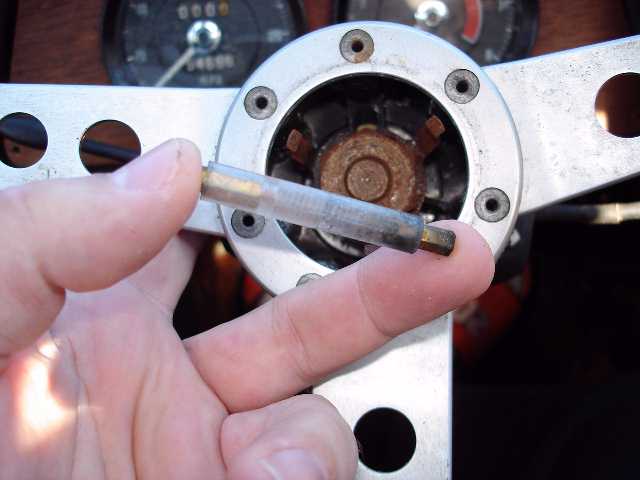
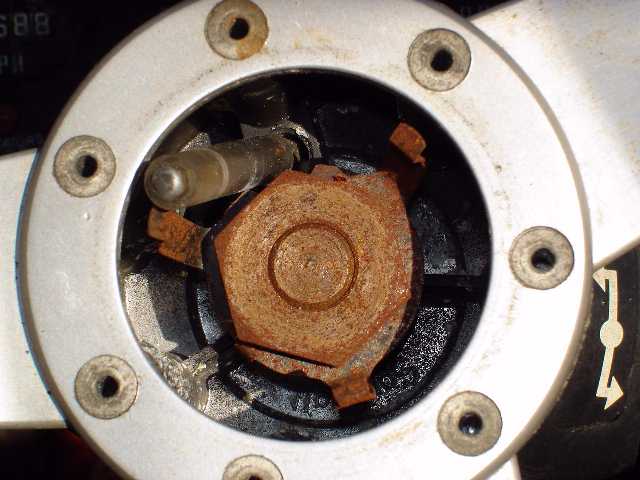
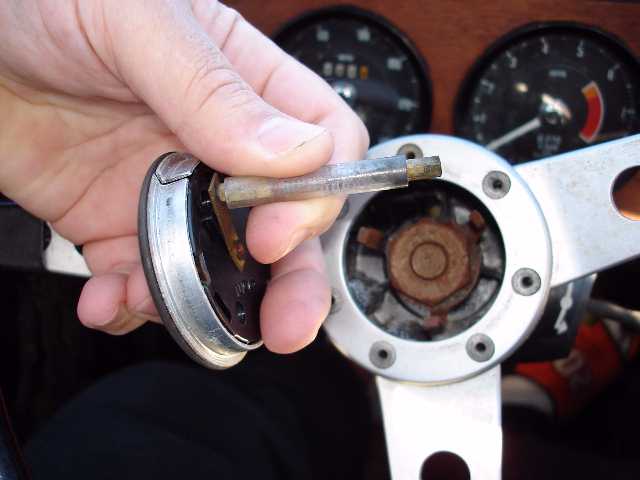
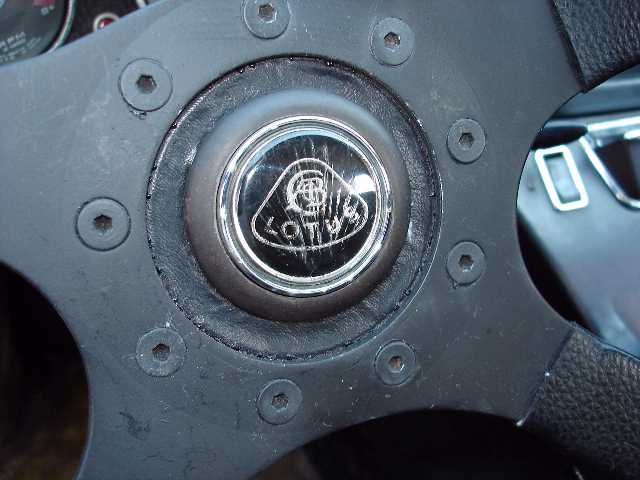
S1B - Took photos of the S1 horn button connections today.
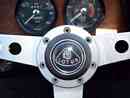
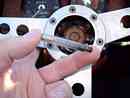
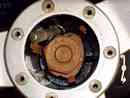
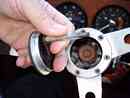
All Photos: S1 Horn Button.
10/21/06
S1A - Stripped the right door recess, right top and right cowl today.

Paint stripping albums:
Front/Right Quarter - Left/Right Sides
10/19/06
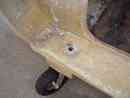
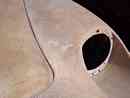
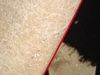
S1A - Stripped the left rocker panel and door recess today. Found a hole near the top door hinge bobbin that appears left by the factory. Lots of nooks and crannies to sand!!!
Paint stripping albums:
Front/Right Quarter - Left/Right Sides
10/18/06
S1A - Stripped the left rear quarter panel today.
Paint stripping albums:
Front/Right Quarter - Left/Right Sides
10/17/06
S1A - No activity today - Lots of rain and I'm not ready to wet sand yet!
10/16/06
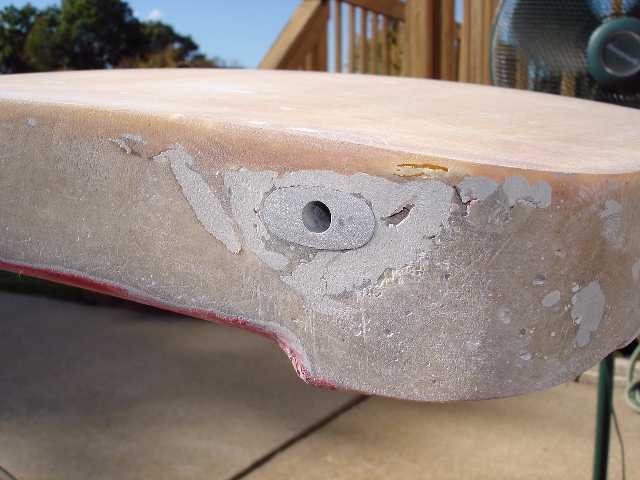
S1A - Stripped the right rear quarter panel today. Found more damage repair in several spots.
Paint stripping albums:
Front/Right Quarter - Left/Right Sides
10/15/06
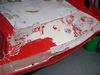
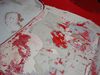
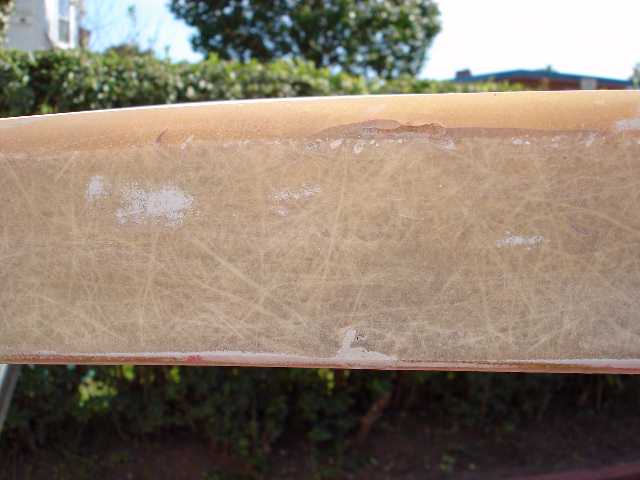
S1A - More sanding today. This time it was the left front fender. Found about 1/16" of putty spread over the entire fender on top of the factory paint. Sanded it all off and found some more bad bodywork underneath. Really glad I decided to strip everything to bare fiberglass.

Paint stripping albums:
Front/Right Quarter - Left/Right Sides
10/14/06
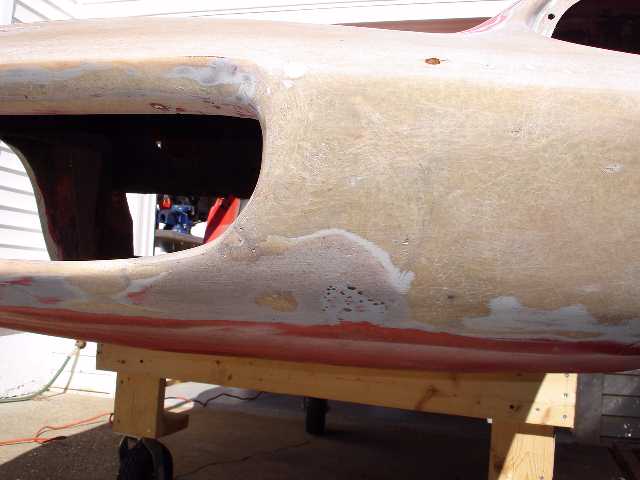
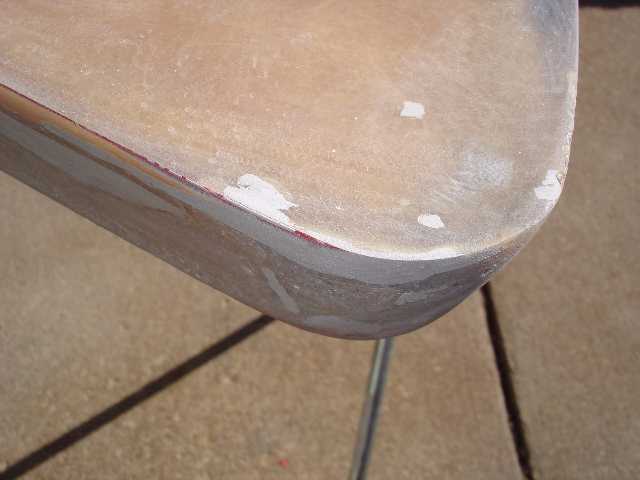
S1A - Continued sanding today. Finished the right fender and the area under the front bumper. Found some poor bodywork on the lower left of the grille opening. It will be ground out and reglassed after I complete the stripping process.

Paint stripping albums:
Front/Right Quarter - Left/Right Sides
10/13/06
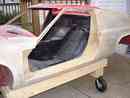
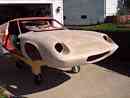
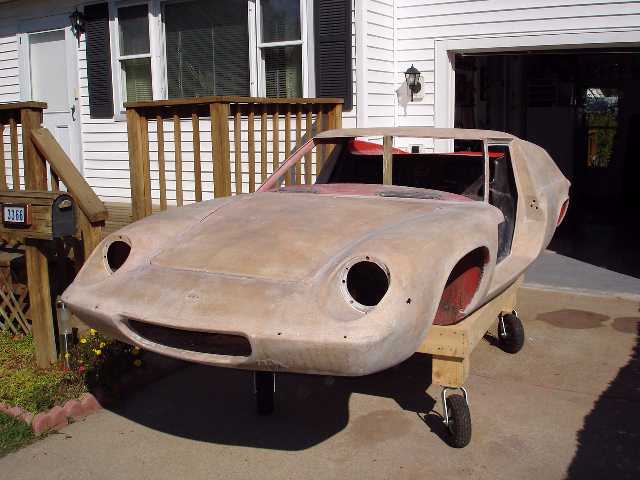
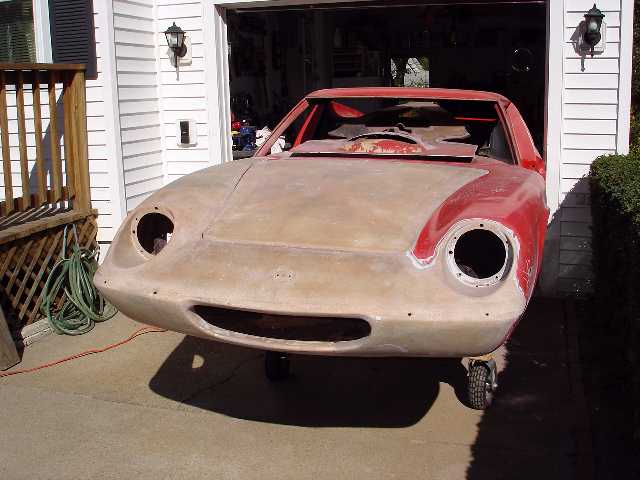
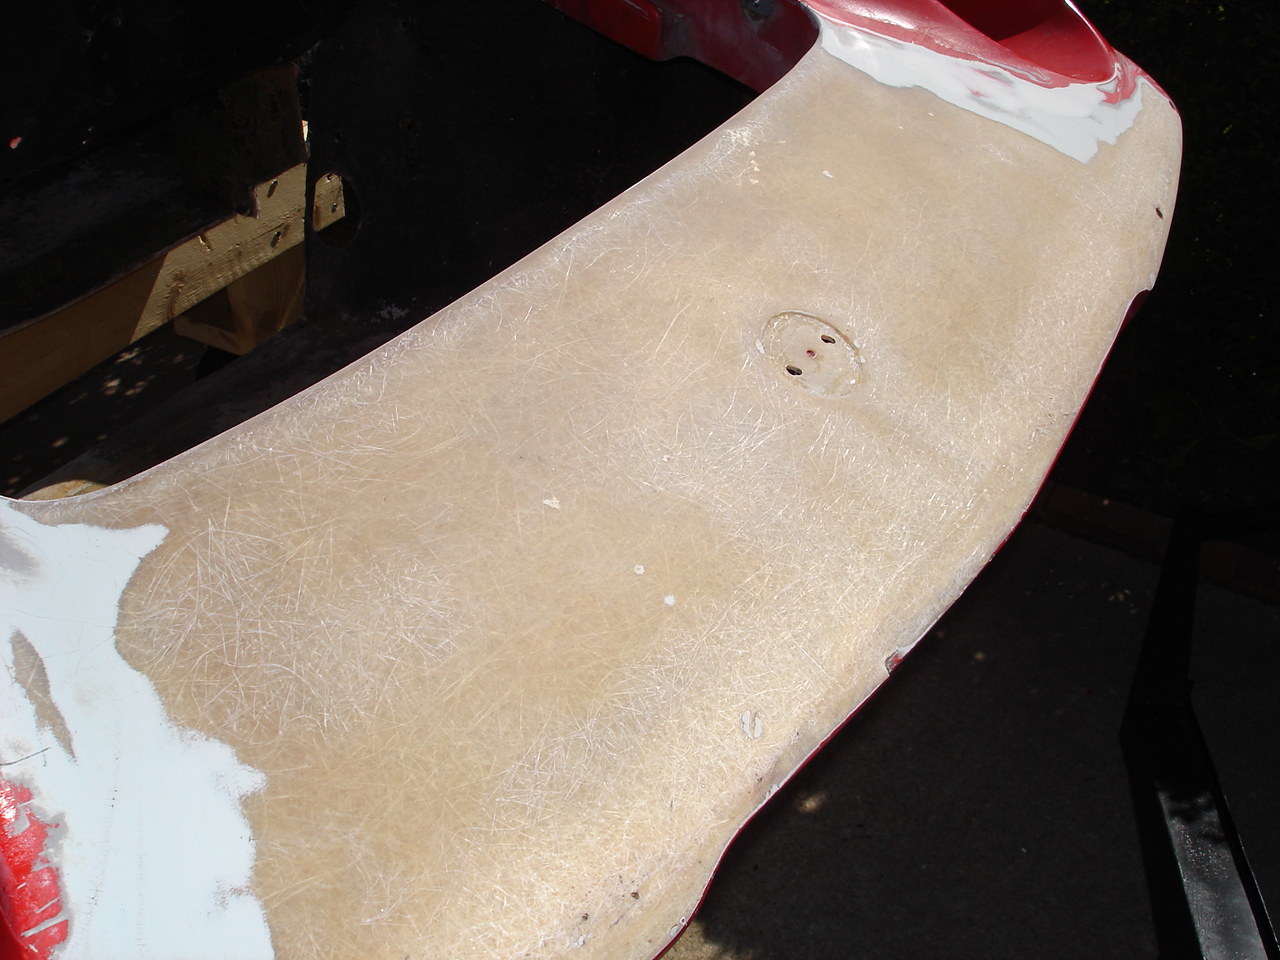
S1A - After sanding the bonnet today I've decided that, even though it will be a LOT more work, I really want to strip everything down to the bare fiberglass and start from there. I found patches and gaps galore and discovered that the bonnet is made in at least two pieces. The top is one piece and the sides are bonded to it (with many gaps where the bonding is incomplete). When I'm done, I'll be certain that any problems in the paint later will have been caused be me, not by poor earlier bodywork.
Paint stripping albums:
Front/Right Quarter - Left/Right Sides
10/12/06
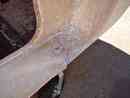
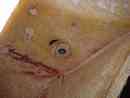
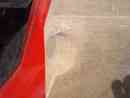
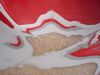
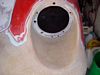
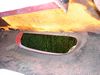
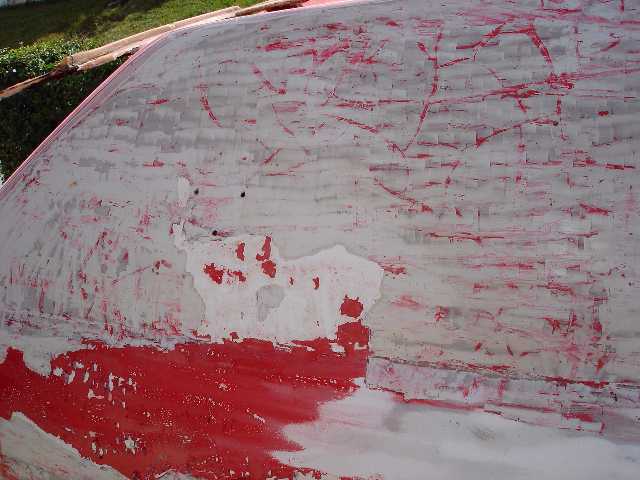
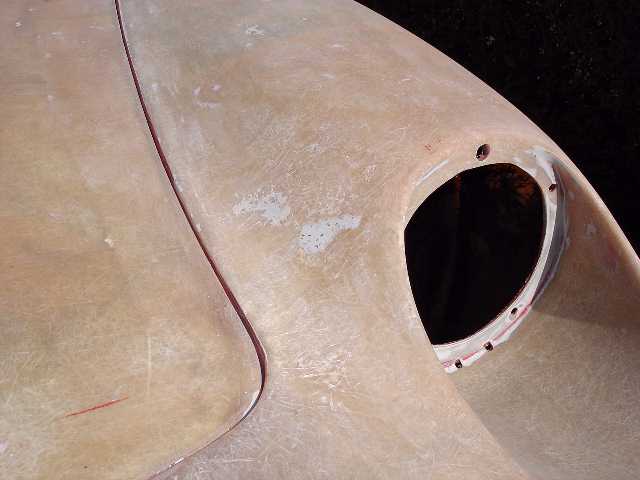
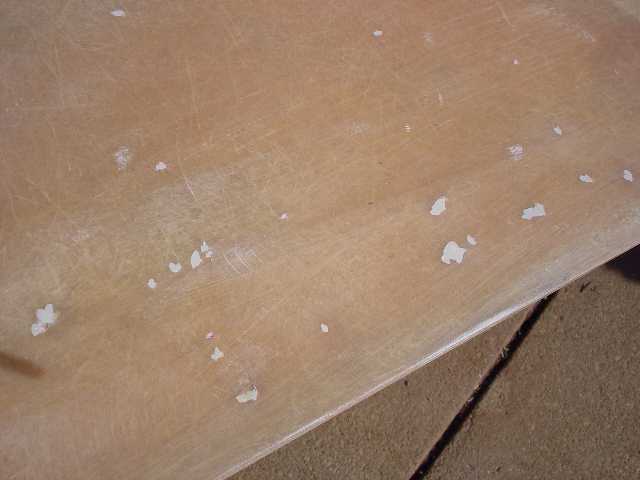
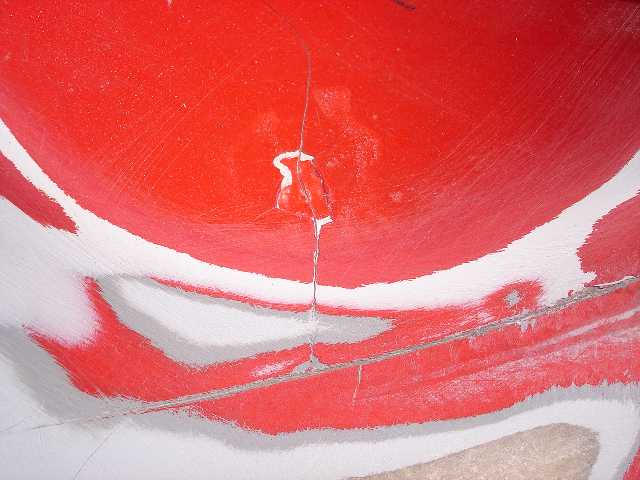
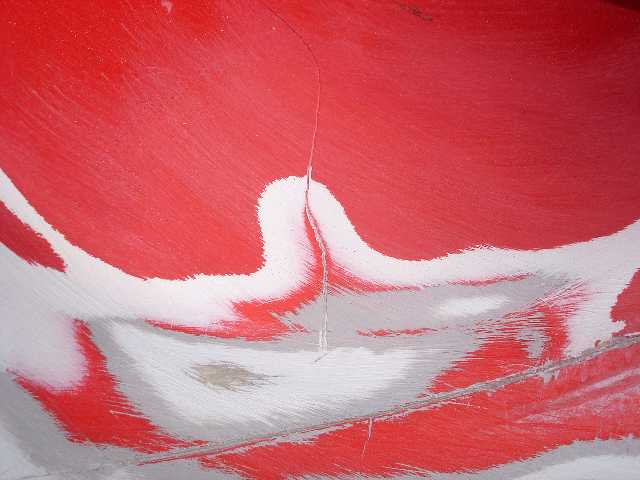
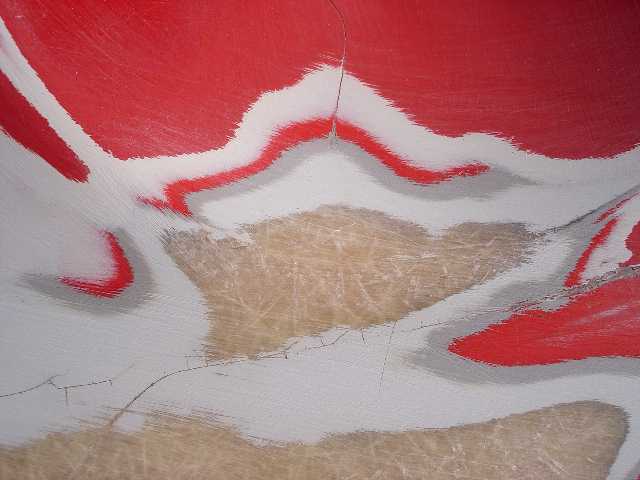
S1A - More sanding on the body today. Finished both headlight nacelles and more of the nose. Here's an example of one crack I followed in the left nacelle. It clearly goes through all layers of paint except the factory sealer and does not go into the fiberglass.

Paint stripping album:
Front/Right Quarter
10/10/06
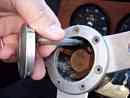
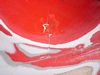
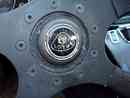
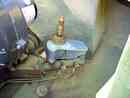
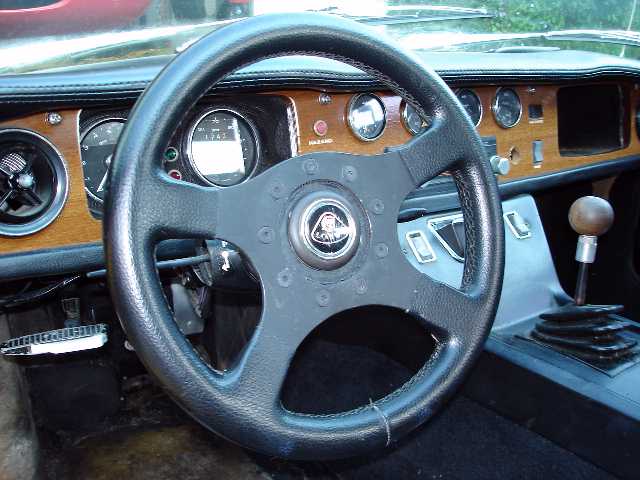
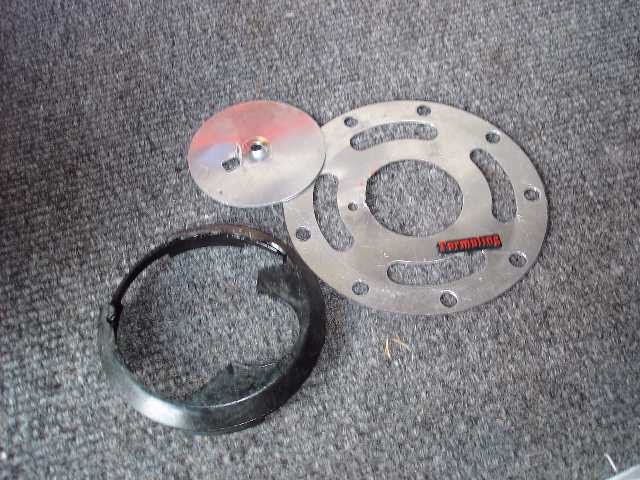
S2 - Horn button fell apart on the Formuling steering wheel a couple of weeks ago. The rubber center deteriorated to the point that the contacts fell together in the middle of the night. Neighbors probably appreciated the constant honking!
Did a temporary fix by cutting an aluminum disc to replace the horn contact plate and making a hole in the center to accept the old horn button from my S1A. Covered the disc with some scrap vinyl I had on hand. Masked and sprayed the wheel flat black while I had it apart.

Paint stripping album:
Front/Right Quarter
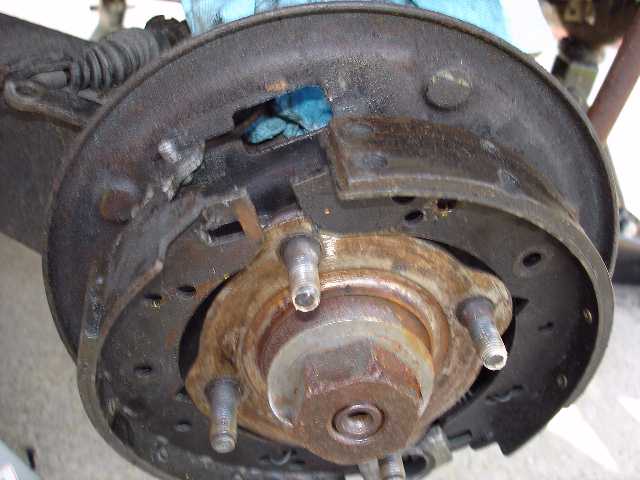
10/3/06
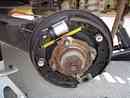
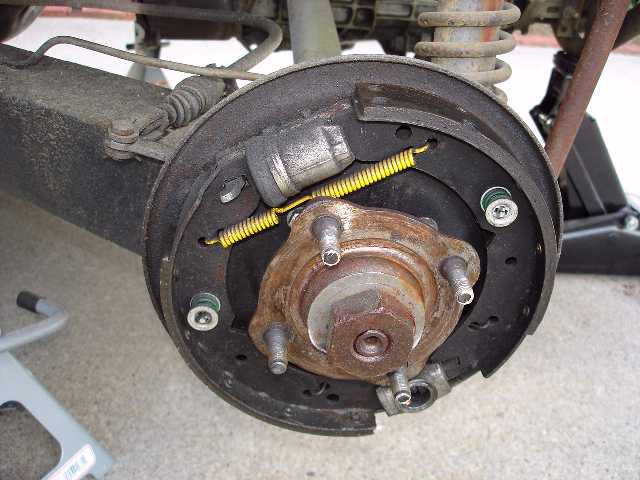
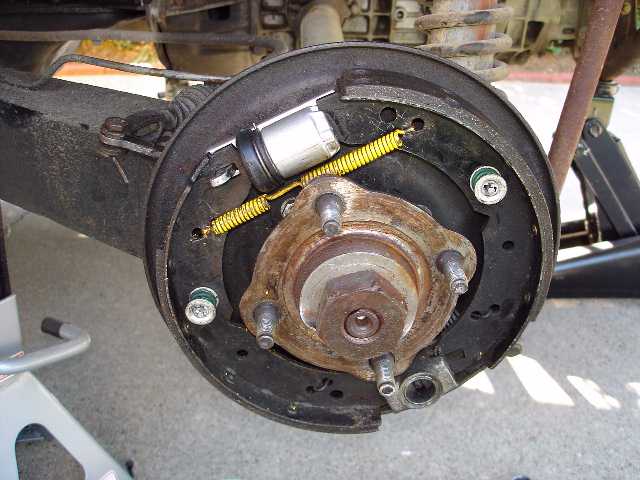
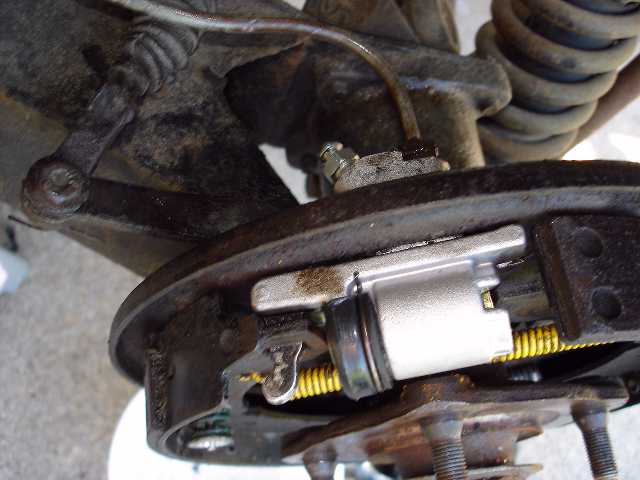
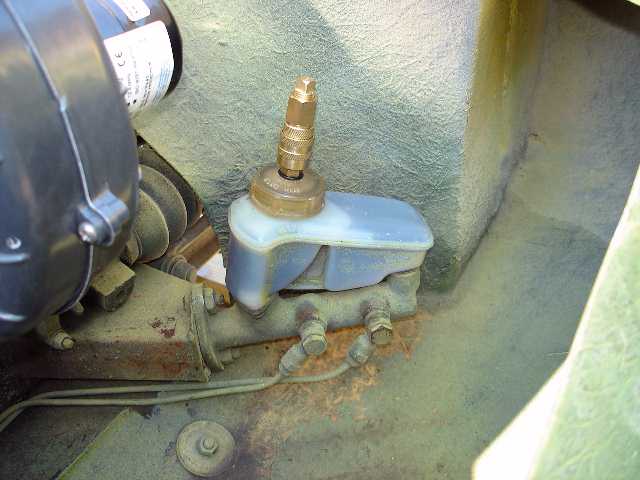
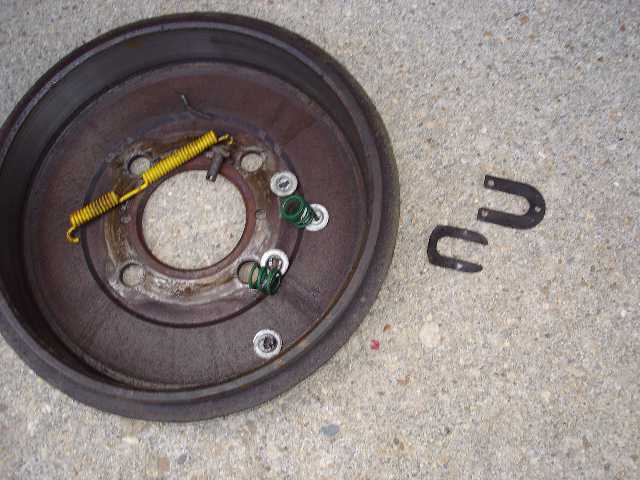
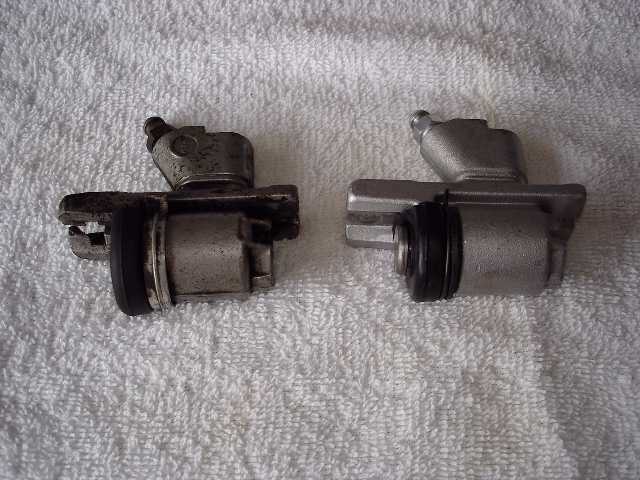
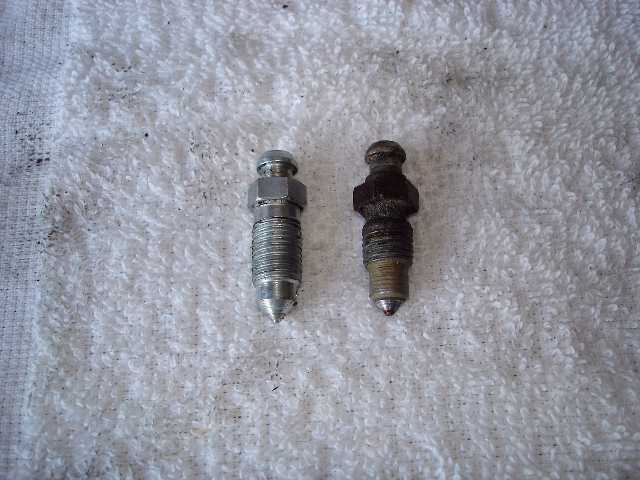
S2 - Lately I've noticed a dribble of brake fluid from the left rear wheel so I ordered a new wheel cylinder from British Parts Northwest. Today I disassembled the rear brakes and replaced the cylinder. I found it's not necessary to completely remove the shoes to do the replacement. The cylinder is held in place by two spring clips which were easy to remove.
The replacement cylinder comes with a 10mm bleed screw instead of the 7/16" standard, and it is longer than the old one so I couldn't swap them. No big deal really. I just need to remember to have two wrenches ready when I'm going to bleed the brakes.
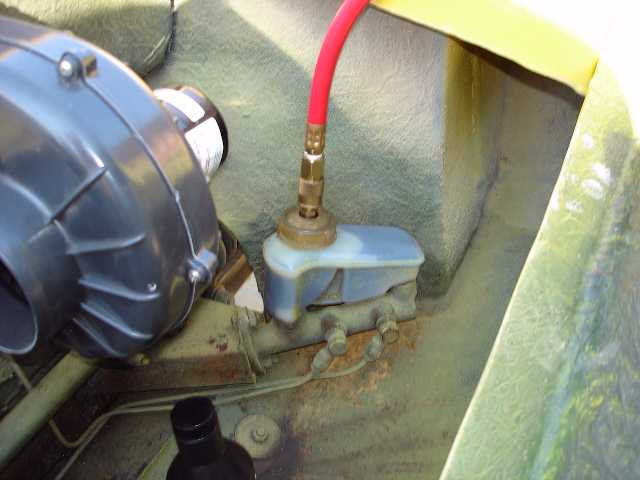
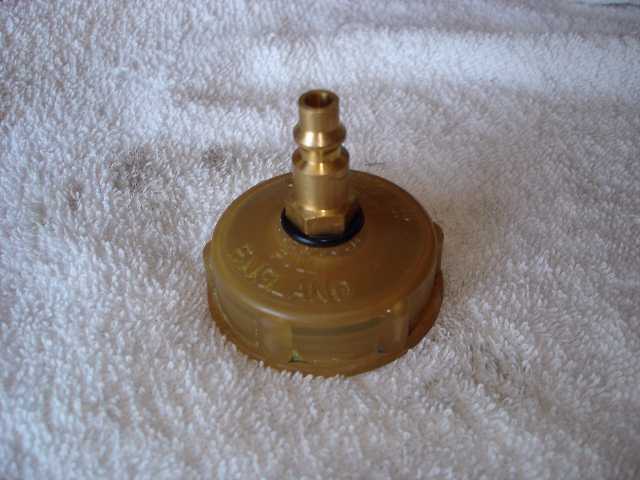
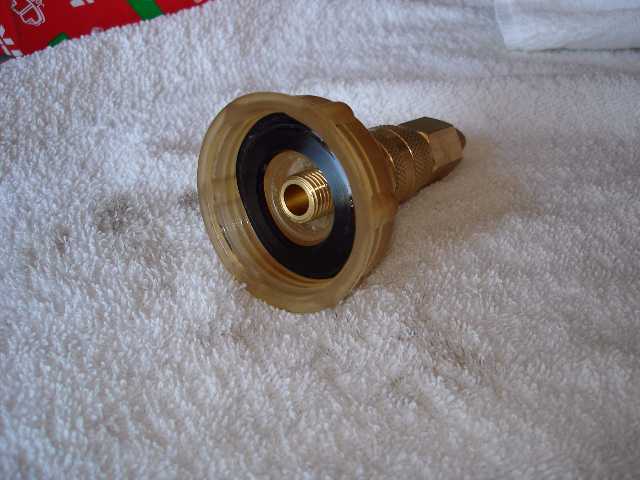
Since I didn't have a helper to pump the brakes I decided to try pressure bleeding them. WHY DID I NOT DO THIS BEFORE? Pressure bleeding has to be the easiest method, by far, of bleeding brakes. To adapt my system for pressure bleeding I drilled a hole in the reservoir cap and installed a male air-tool adaptor with an O ring to help it seal. The adaptor screwed into the plastic cap creating a good mechanical and air-tight connection. Next I set my air compressor to 20 pounds, connected the hose to the modified reservoir cap, and simply went to each wheel and bled the system. I stopped once to refill the reservoir since I had never done a total replacement of the fluid and wanted to flush all of the old fluid. One of the car's previous owners changed the system to silicone fluid so I used Dot 5 purple silicone fluid.
When I was finished I installed a female air-tool adaptor with a 1/4' plug to keep the crap out of the brake system. Since the reservoir cap had a small vent hole I drilled a 1/16" hole in the 1/4" plug.
My brakes are so much better than they have ever been, and it only took about an hour!

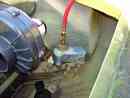
All of the photos I took today are here.
10/2/06
S1A - Still investigating what the PO did when he repainted the car. It appears he smeared some kind of filler over the old paint where there were cracks, than sanded the filler smooth before priming and respraying the car. The new filler cracked and that's why there are so many cracks in the paint.
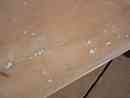
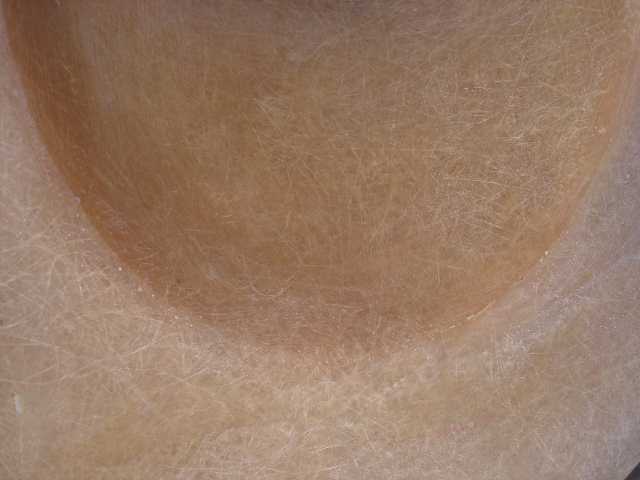
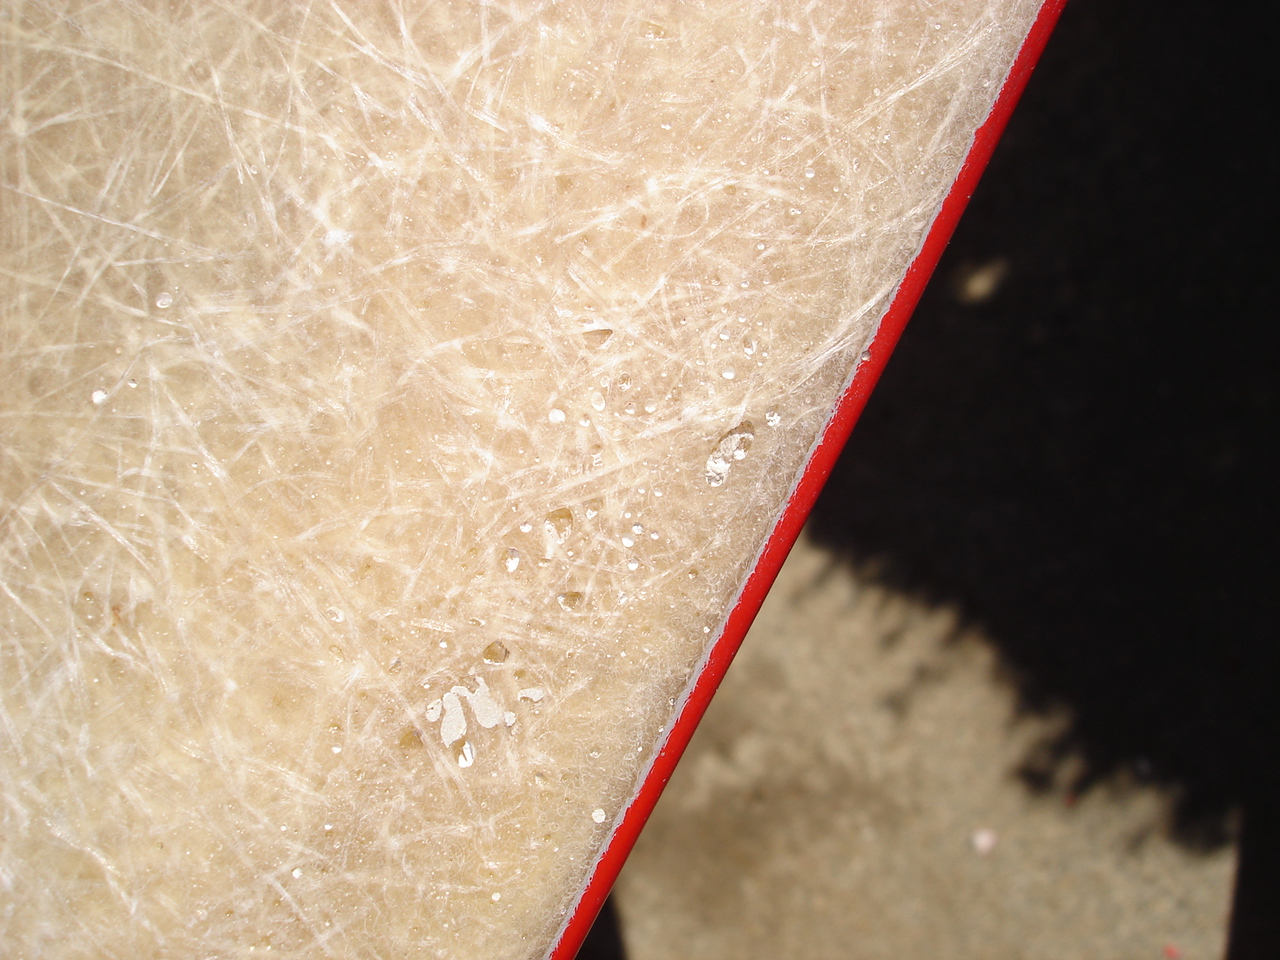
Today I sanded the nose down to the fiberglass to see if he was trying to cover accident damage, but there was none. I did find lots of pinholes and some small cracks, along with a ding or two, but in general, the section I sanded looks pretty good. Interesting to look at the back of the panel in the sunlight now that there is no paint on it.
Since the paint stripper will not attack the filler he used, I plan to sand most of the car, reserving the stripper for hard to reach areas where it is unlikely he added filler.
Paint stripping album:
Front/Right Quarter
|
|
|


