|
|

 September 2006 Activity Log September 2006 Activity Log 
9/23/06
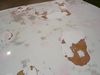
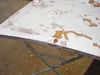
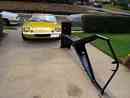
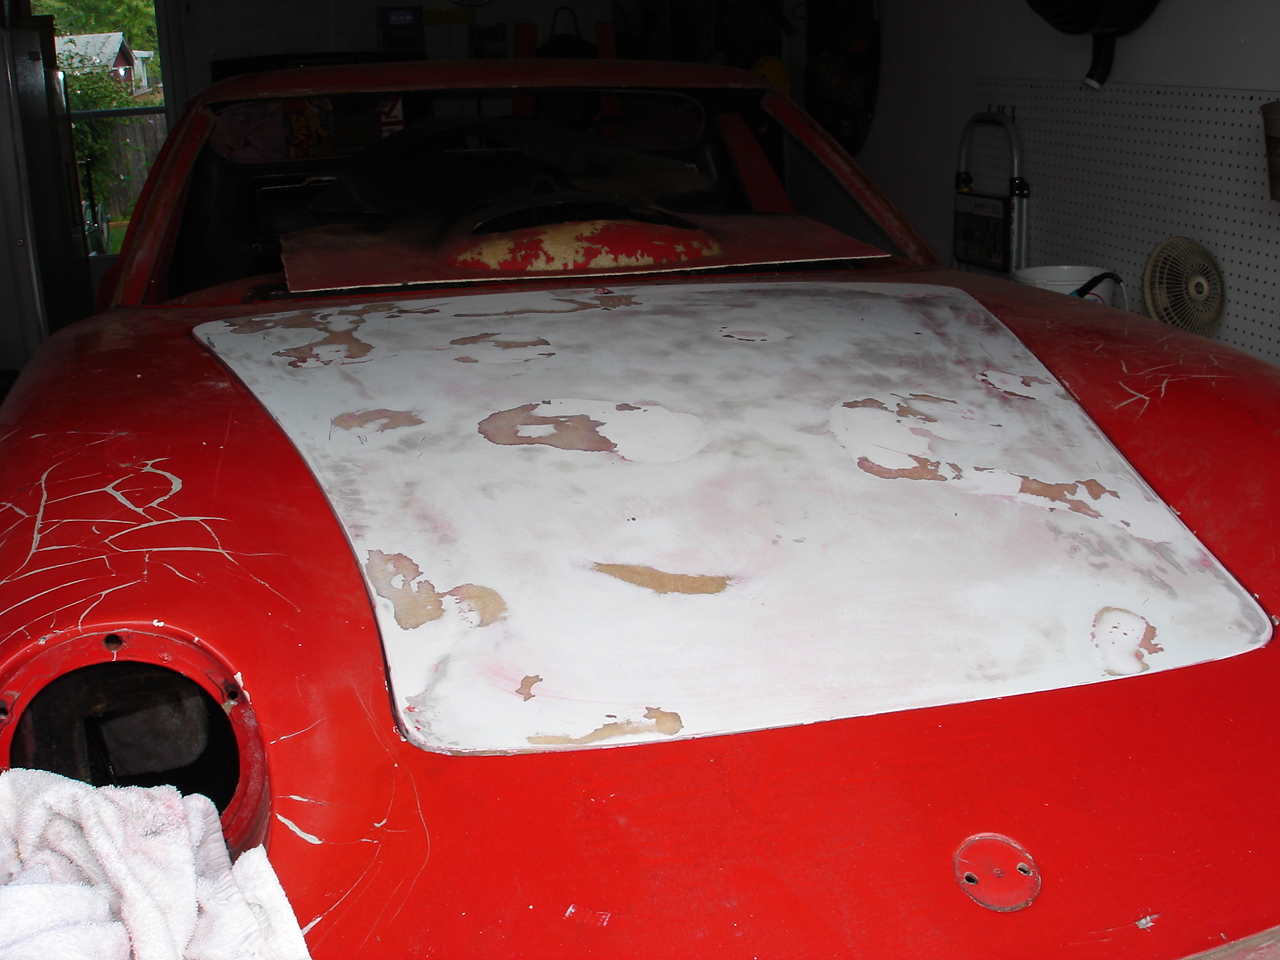
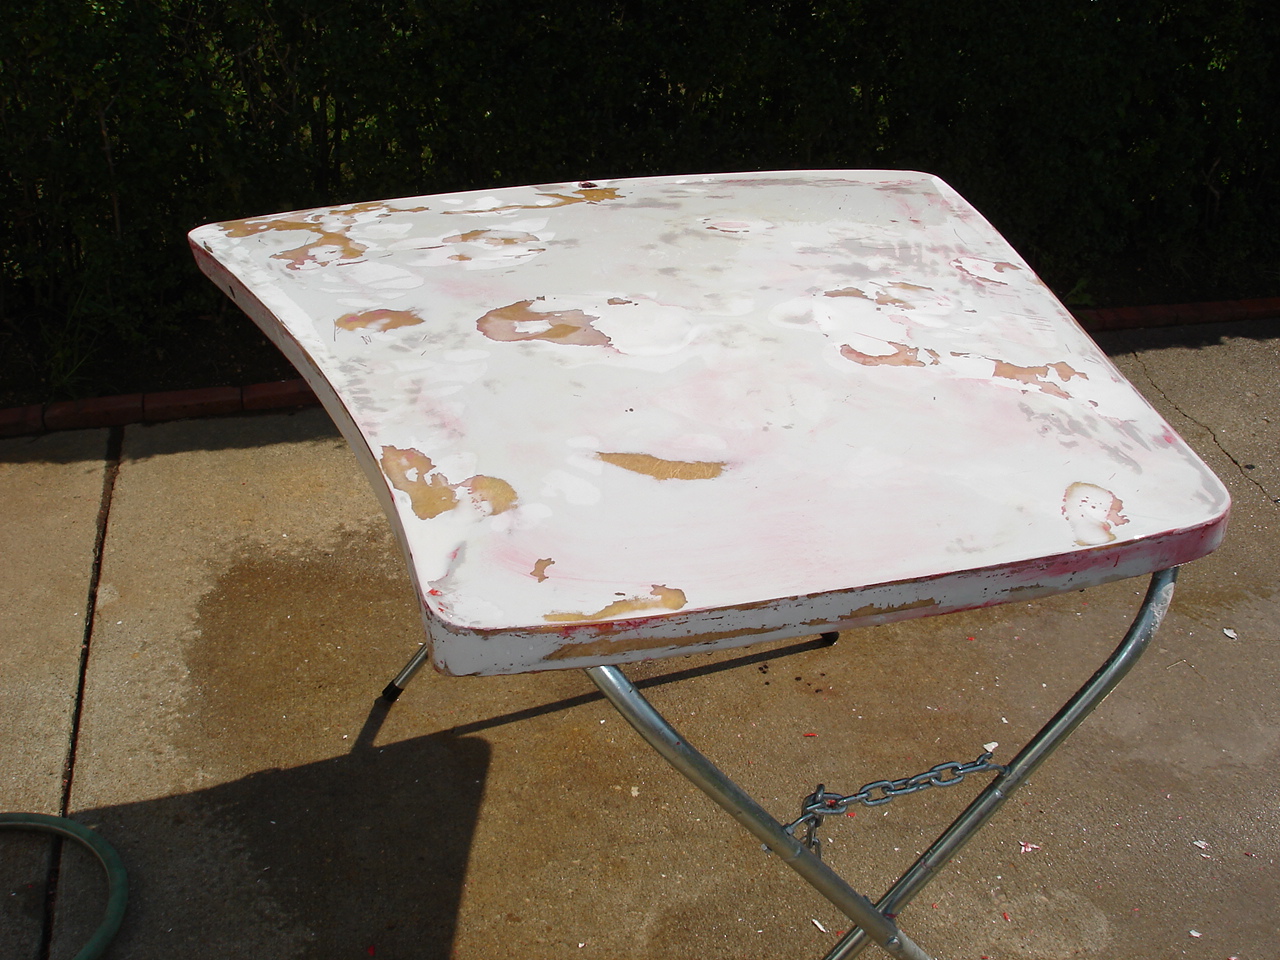
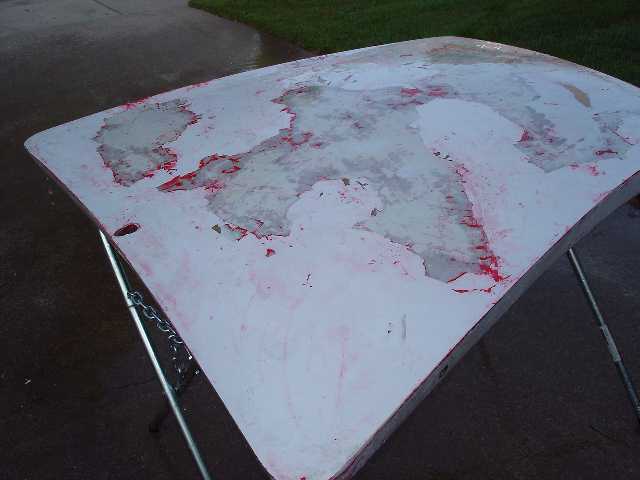
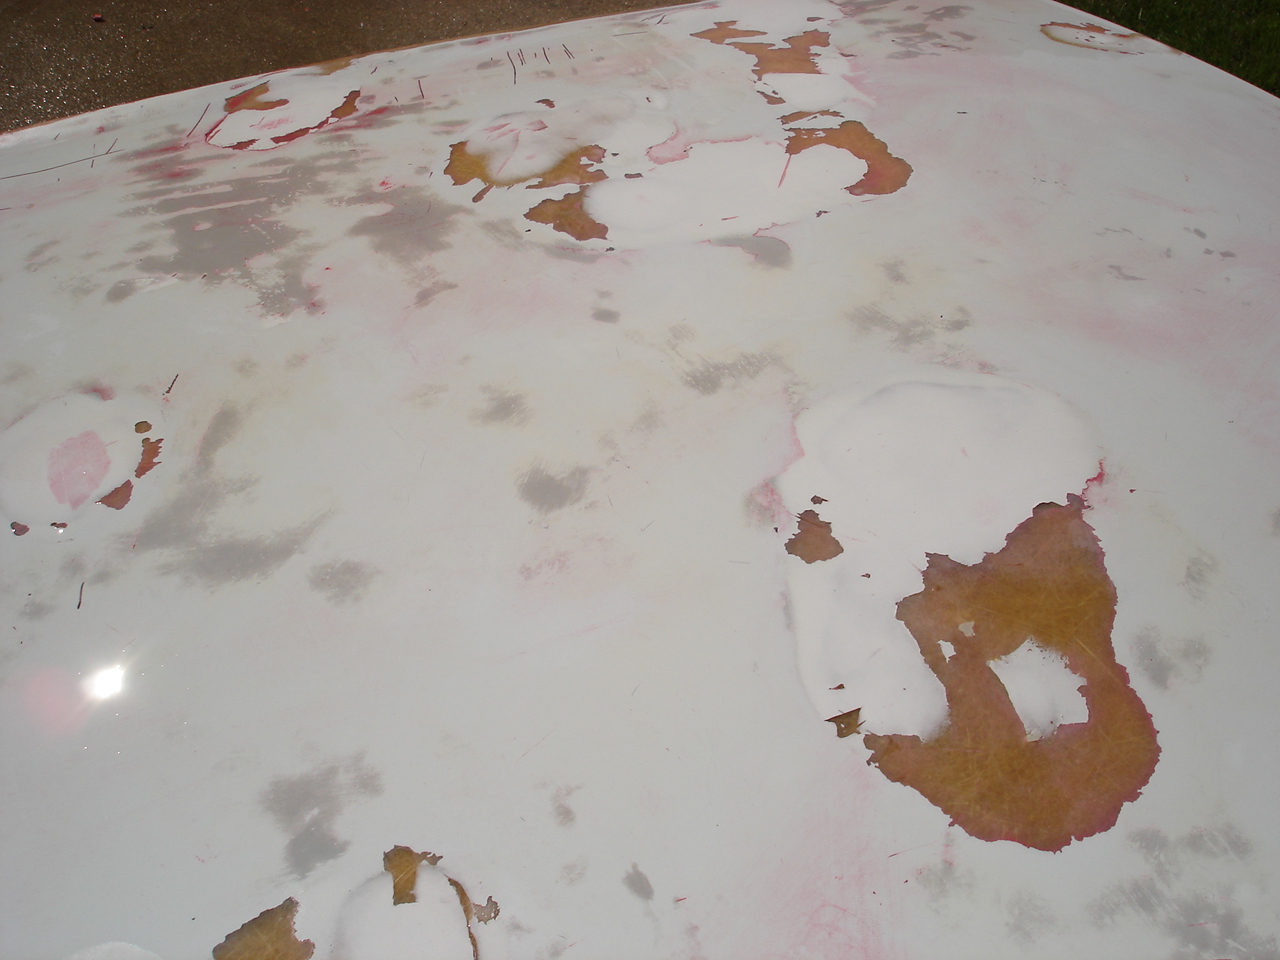
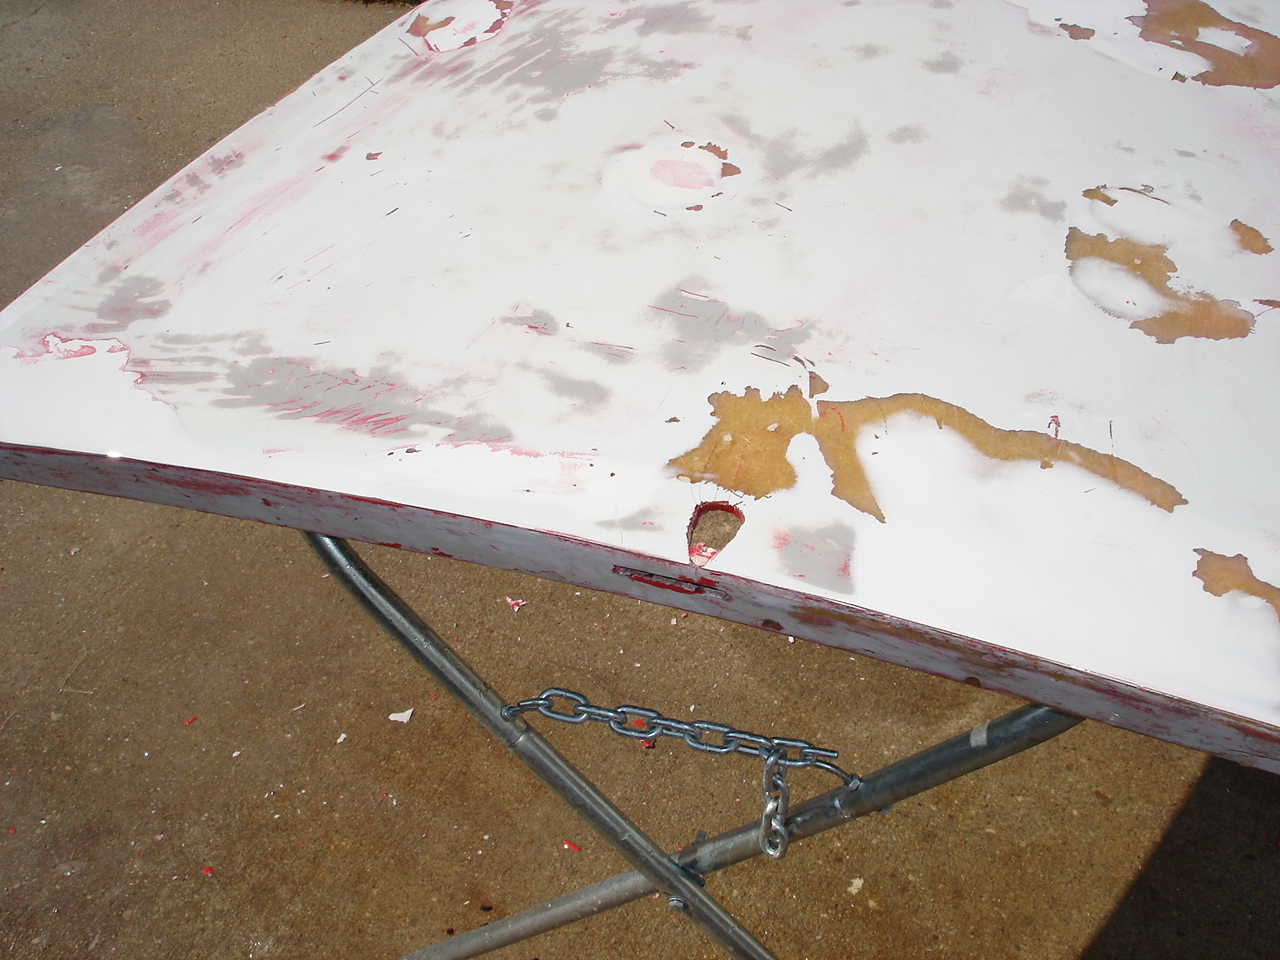
S1A - Started stripping paint from the body today. As I suspected, it is covered in spots with the same body filler that was on the front deck. It looks like the PO applied a skim coat (up to 1/16" in many places) of the filler directly over the old paint, sanded it, primed it, and applied one coat of finish paint. No wonder the paint is cracking all over. Interestingly, the bumpers had overspry on the inside and there is no filler or second coat of paint inder them. That area is easy to strip!
So now, I guess the plan is to grind out all of the offending filler! Good thing I'm not in a hurry.
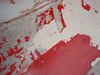


Paint stripping album:
Front/Right Quarter
9/18/06
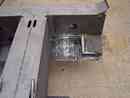
S1A - 9:00 AM - After sitting all night I found the white primer applied by the PO to be soft in spots and used a razor-scraper to remove all of the soft material. This is going to be a slow process!
Applied another coat of stripper to the stubborn areas and covered it with plastic wrap. Will try scraping again this afternoon.
S2 - Adjusted the Weber 45DCOE to reduce an off-idle stumble. Drove around for an hour or so and the car runs a lot better.
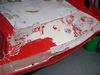
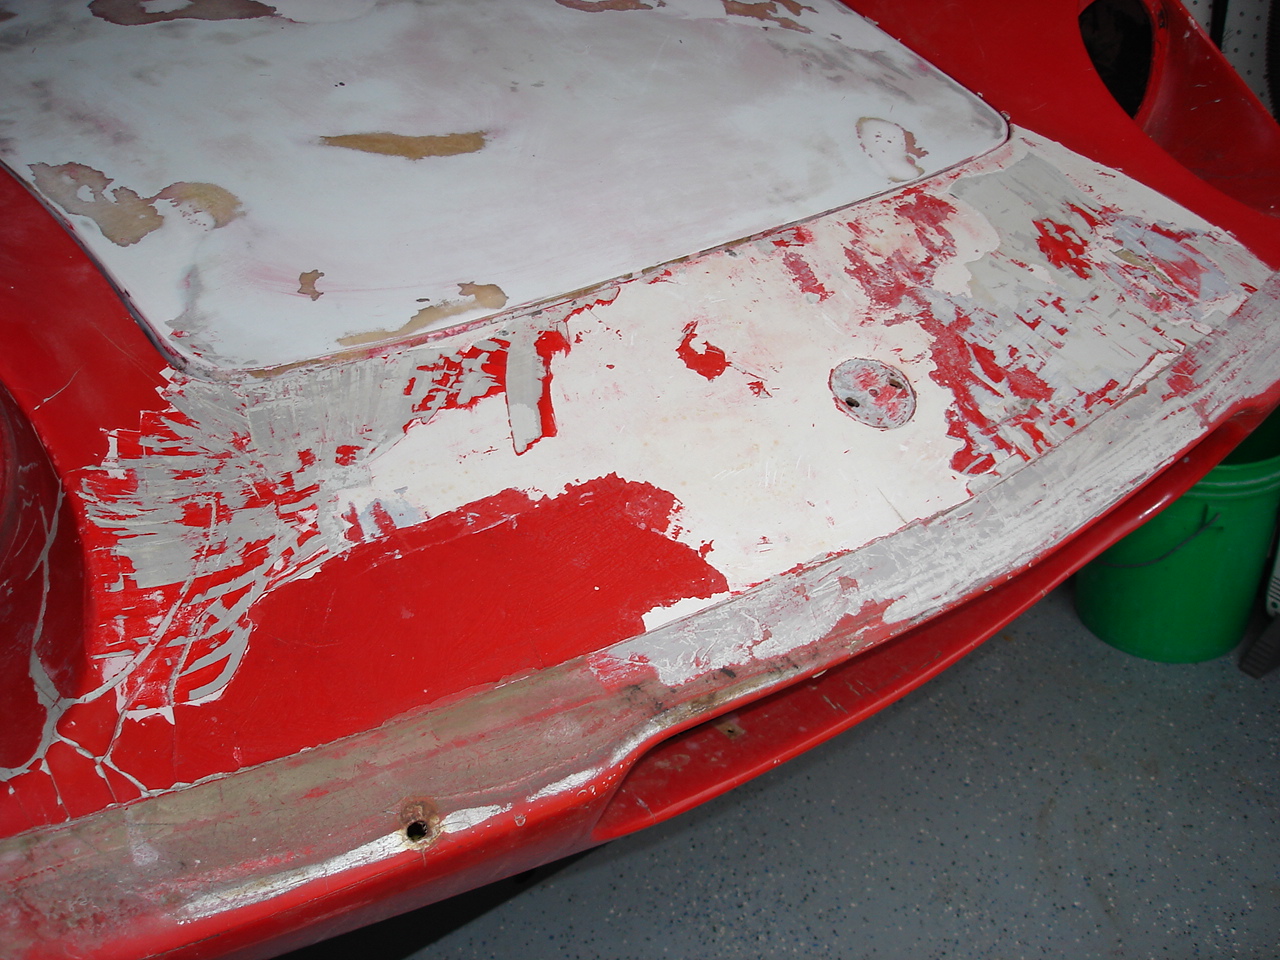
S1A - 3:25 PM - Discovered why I'm having such a hard time stripping the white primer applied by the PO (DPO?). Turns out, some of it is white primer and a LOT of it is white body filler! The stripper had a good time with the primer but wouldn't touch the filler (surprise).
Taking a suggestion from "innomatix" left on the chat board, I dug out my heat gun and applied heat to the primer. It peeled right off, up to the body filler. Still not sure if it was the combination of heat and stripper, or if the heat alone would have done the trick. LOTS more to strip, so I'll find out.
After I stripped as much of the primer off as possible, I scrubbed the factory Carnival Red lacquer and the factory grey primer with Acetone to remove most of it. I then lightly sanded the surface with my orbital sander and some 100-grit paper. Now that the paint is removed, I can see the mess that was covered by the respray. Not sure where I'll go from here. Going to take some study.
Paint stripping album:
Front/Right Quarter
9/17/06
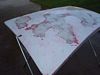
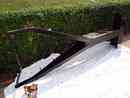
S1A - 9:00 AM - The stripper dried overnight, even though it was covered by plastic wrap and it was cool outside. Seems to have loosened the primer a little, but it's still pretty tough to remove. The section containing the largest crack was pretty loose so I removed it, then wet sanded a section where the crack was with 220 paper. It appears the crack was only in the paint and primer, not in the fiberglass. Maybe the respray cracked when it dried.
Applied some more stripper without the plastic wrap and will let it work for a couple of hours. I can see this is going to be a learning experience.
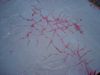
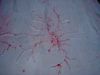
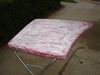
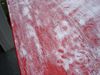
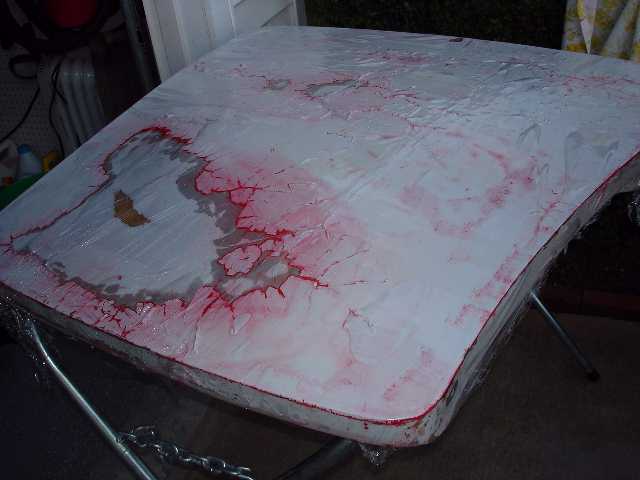
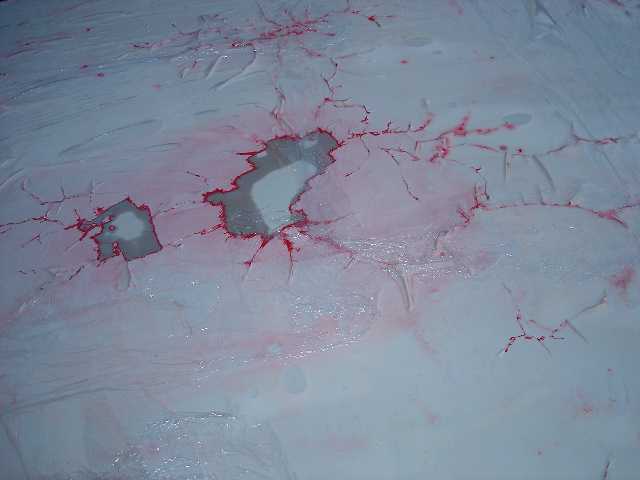
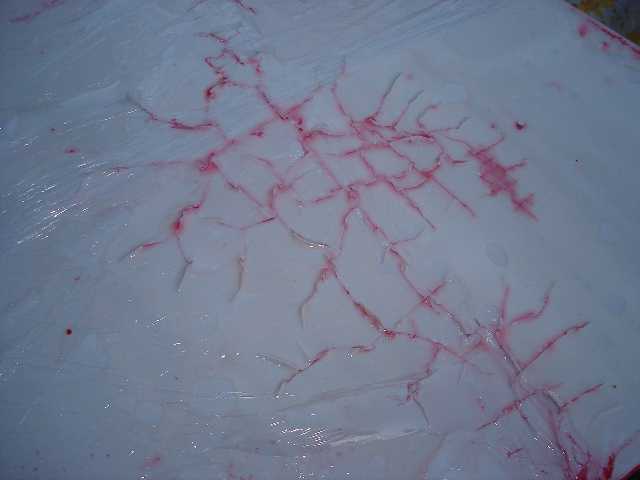
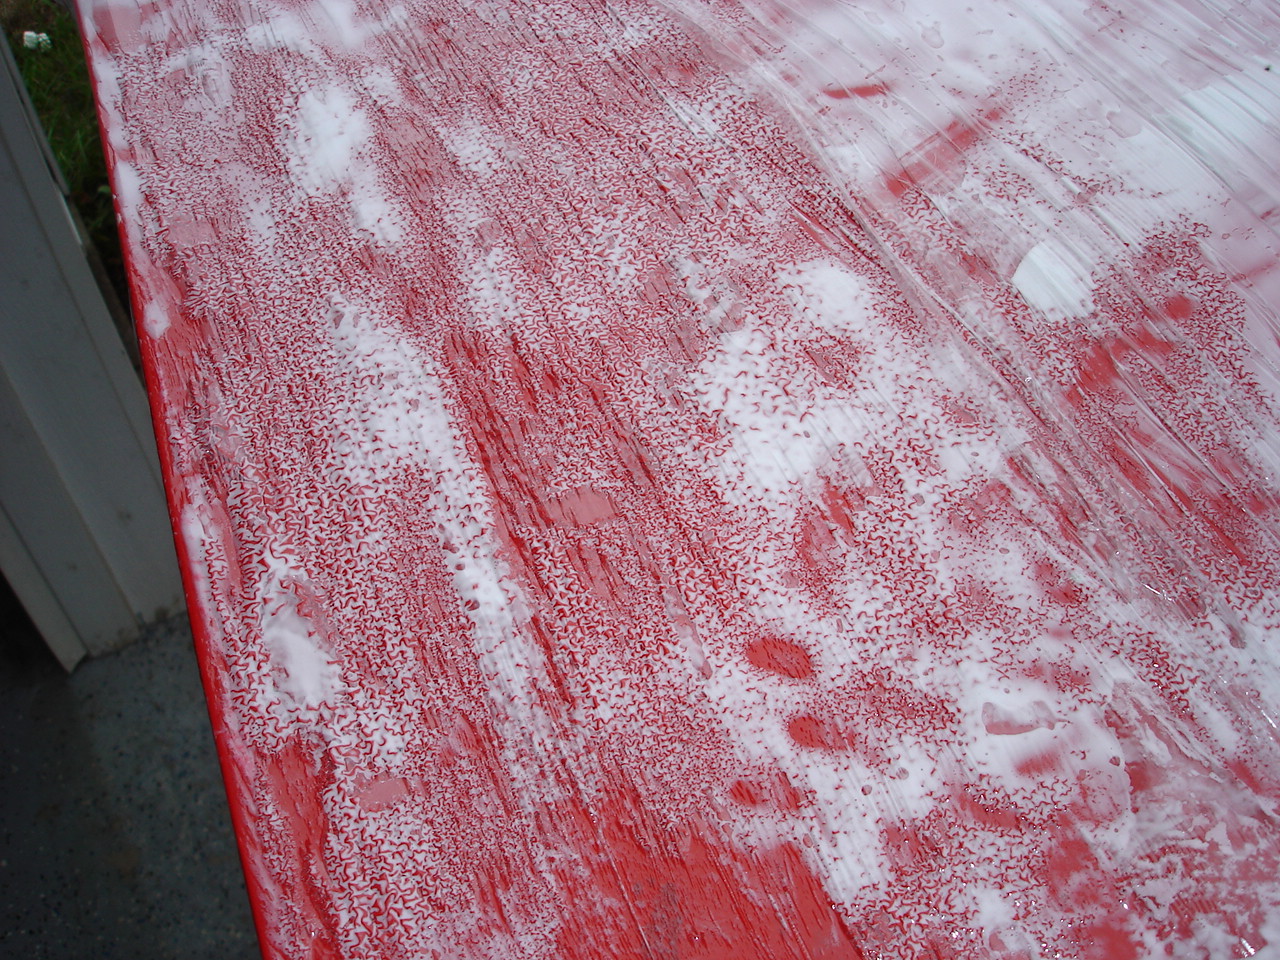
S1A - 7:25 PM - After a couple of hours the stripper I applied without the plastic wrap hadn't done anything so I washed the panel with water, dried it, and applied a generous coating of stripper. I then covered it with plastic wrap and threw an old bed sheet over the whole mess to protect it from direct sunlight.
I just removed the bed sheet and can see a lot of crazing and bleed-through of the factory carnival red paint so it's obvious the stripper is working. I'll leave it overnight and see what it looks like in the morning.
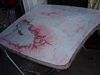
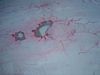
Paint stripping album:
Front/Right Quarter
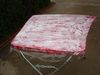
9/16/06
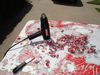
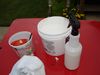
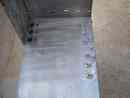
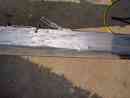
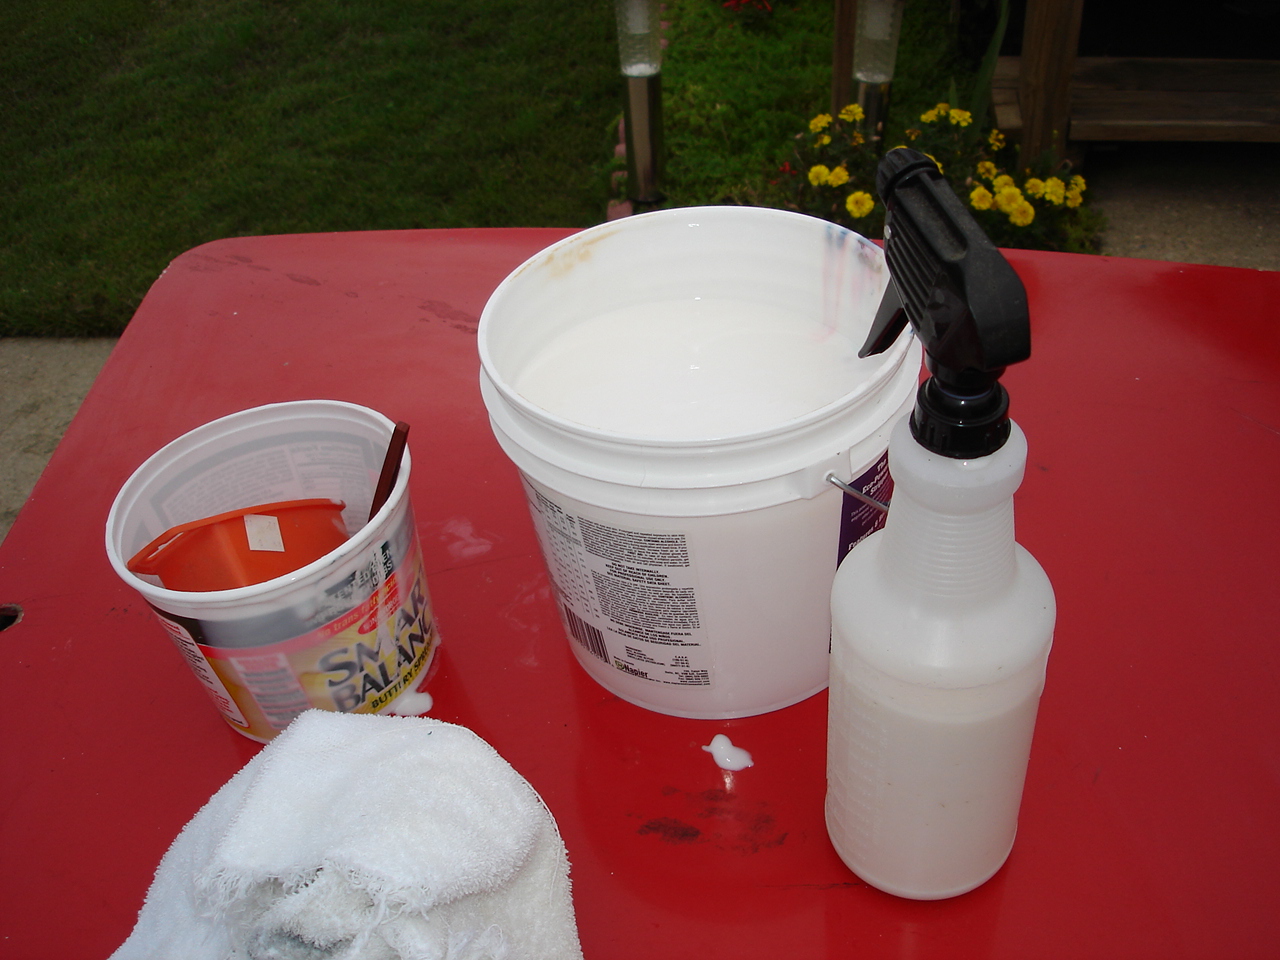
S1A - 9:00 AM - Started the paint stripping process today. Mixed the RemovALL 610 Anti-Fouling/Fiberglass Paint Stripper and added some to a spray bottle. It was too thick to spray properly, so I used foam brushes to spread the stripper around. Found that the stripper eats foam brushes, so next application will be different.
At any rate, once the stripper was applied I covered it with plastic wrap to keep it from drying out and left it alone. After about an hour I could see the paint starting to wrinkle. Will leave it for a while longer then look at it again. The manufacturer recommends leaving it overnight.
S1A - 3:00 PM - Removed the plastic wrap to find most of the top layer of paint loose. Scraped it with a body filler squeegee and finished with lots of water and a green scrubbing pad. It appears the car was resprayed once as I can see another layer of red under the primer that was left after I finished scrubbing.
Applied another coat of the stripper and covered with plastic wrap again. Will leave it overnight and see what it looks like in the morning.
Paint stripping album:
Front/Right Quarter
9/9/06
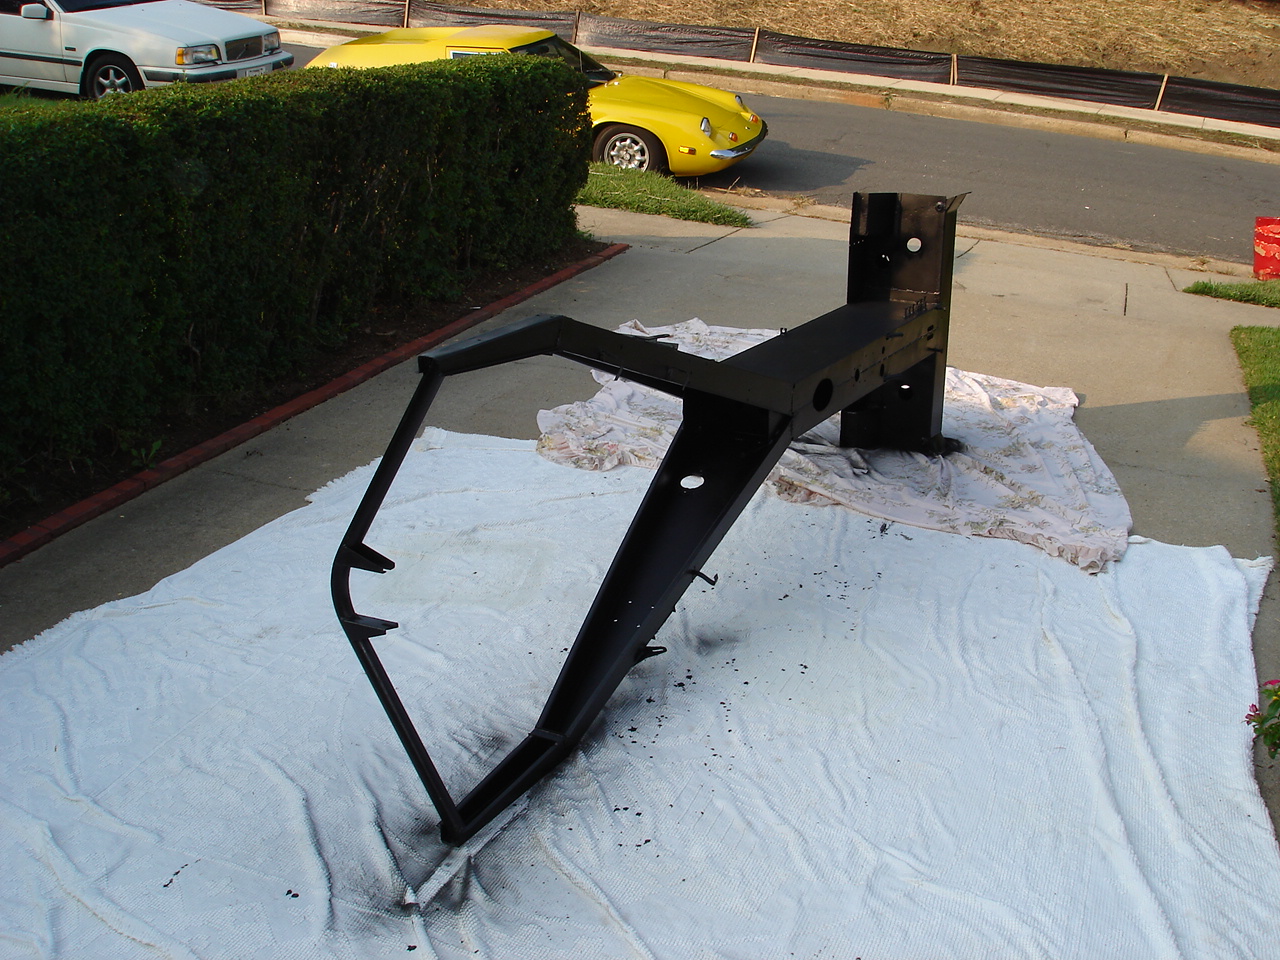
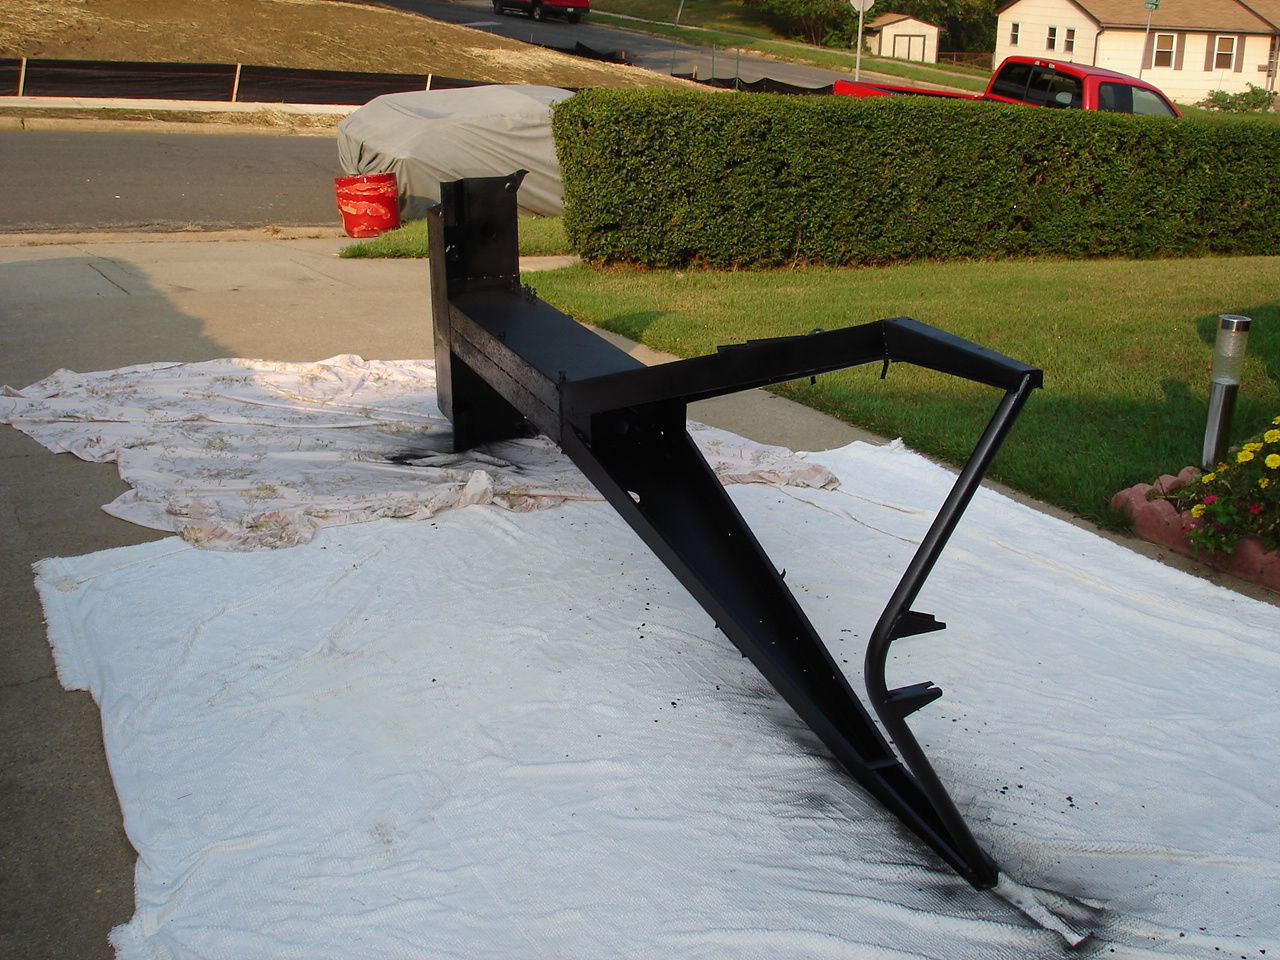
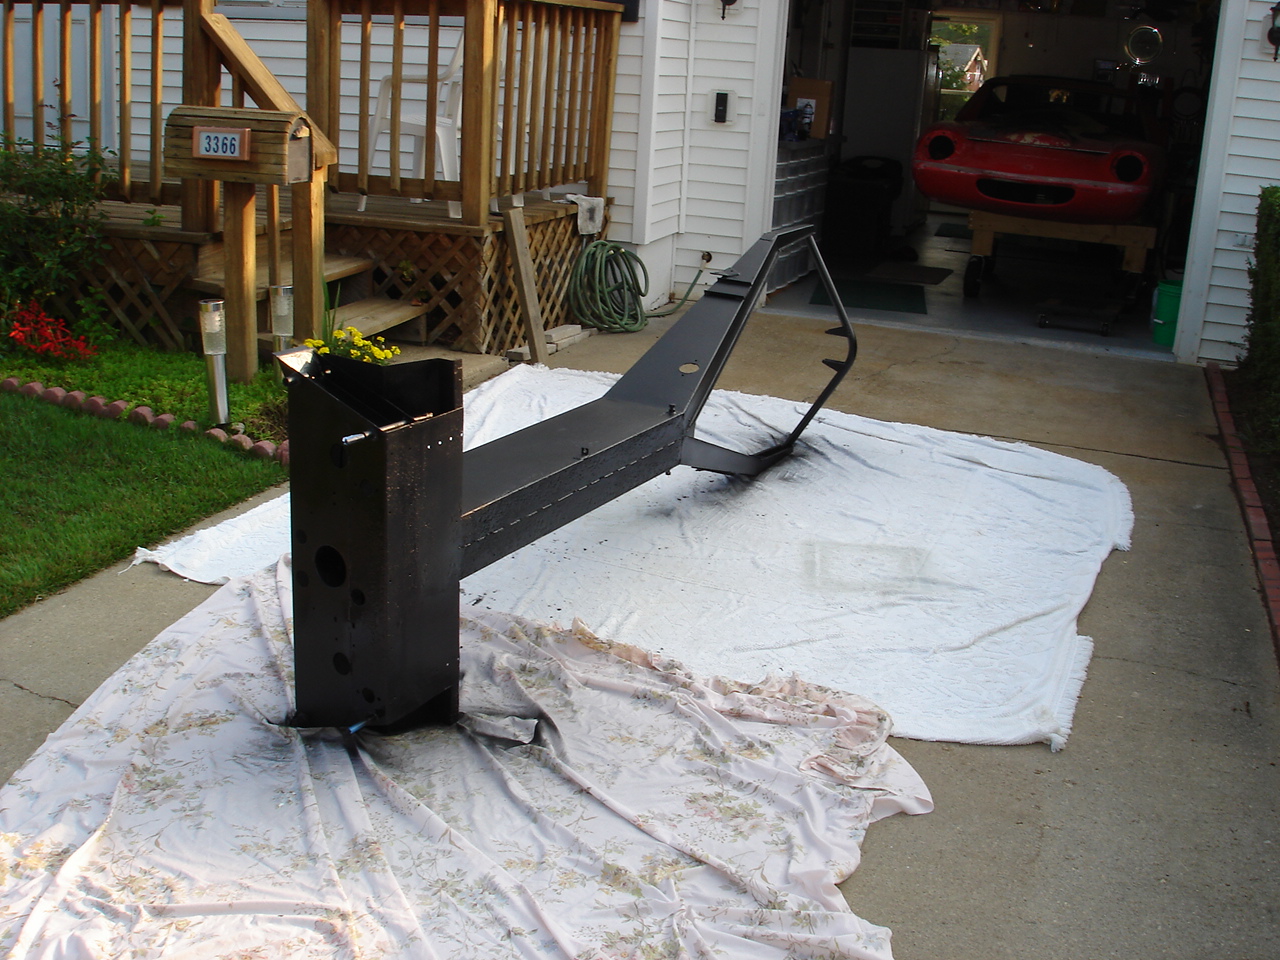
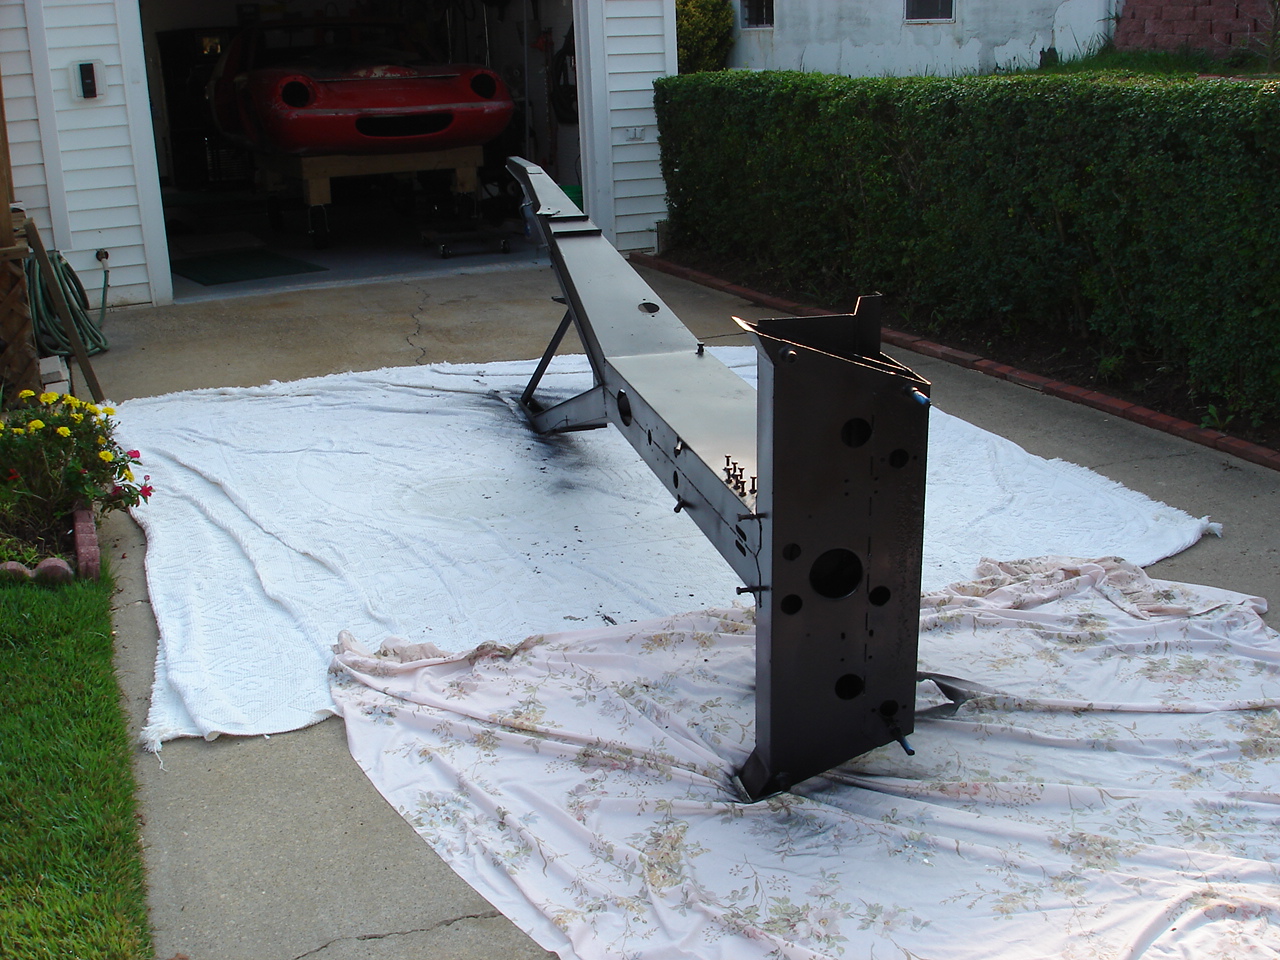
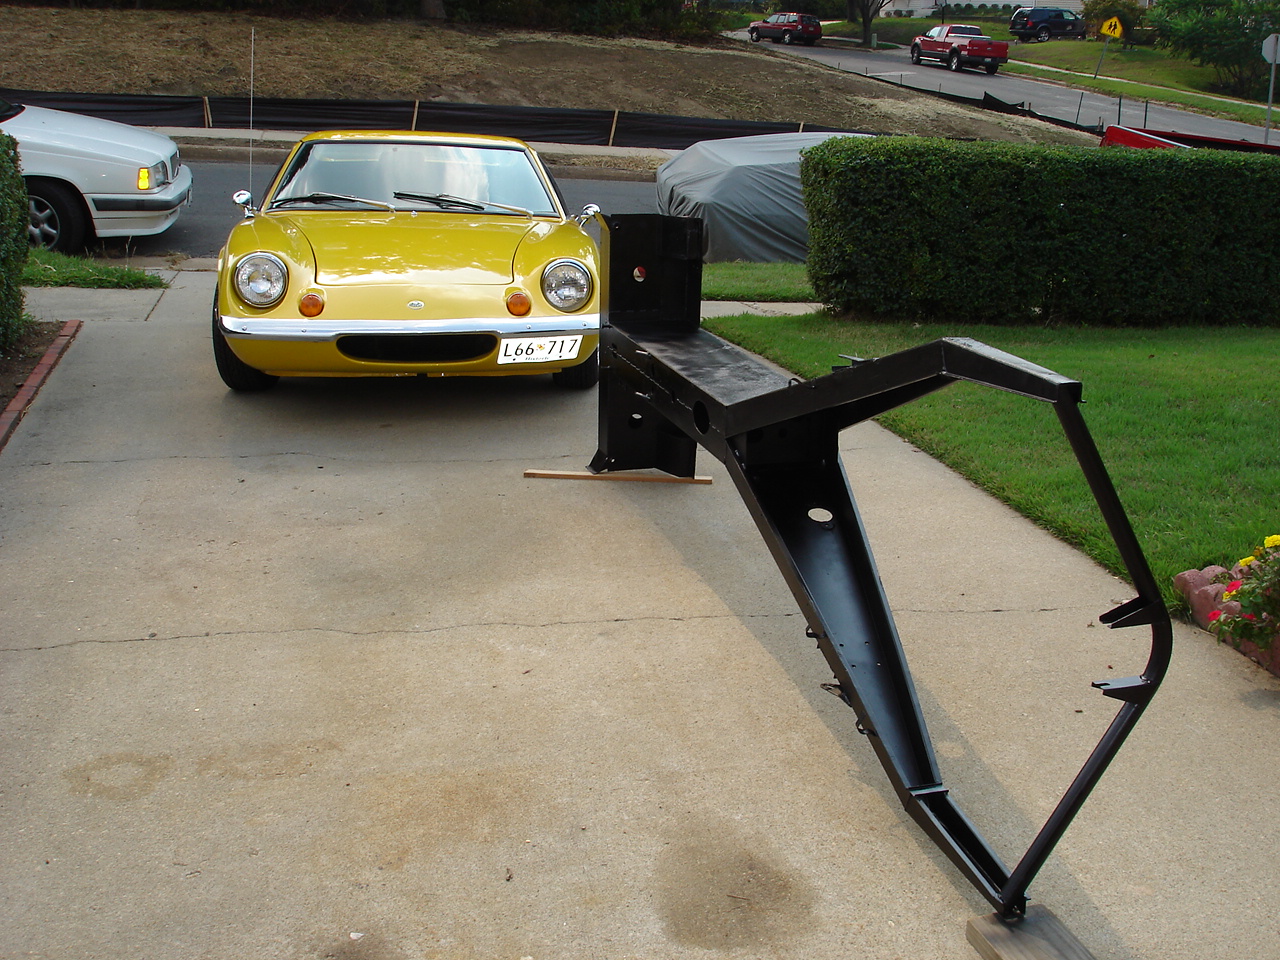
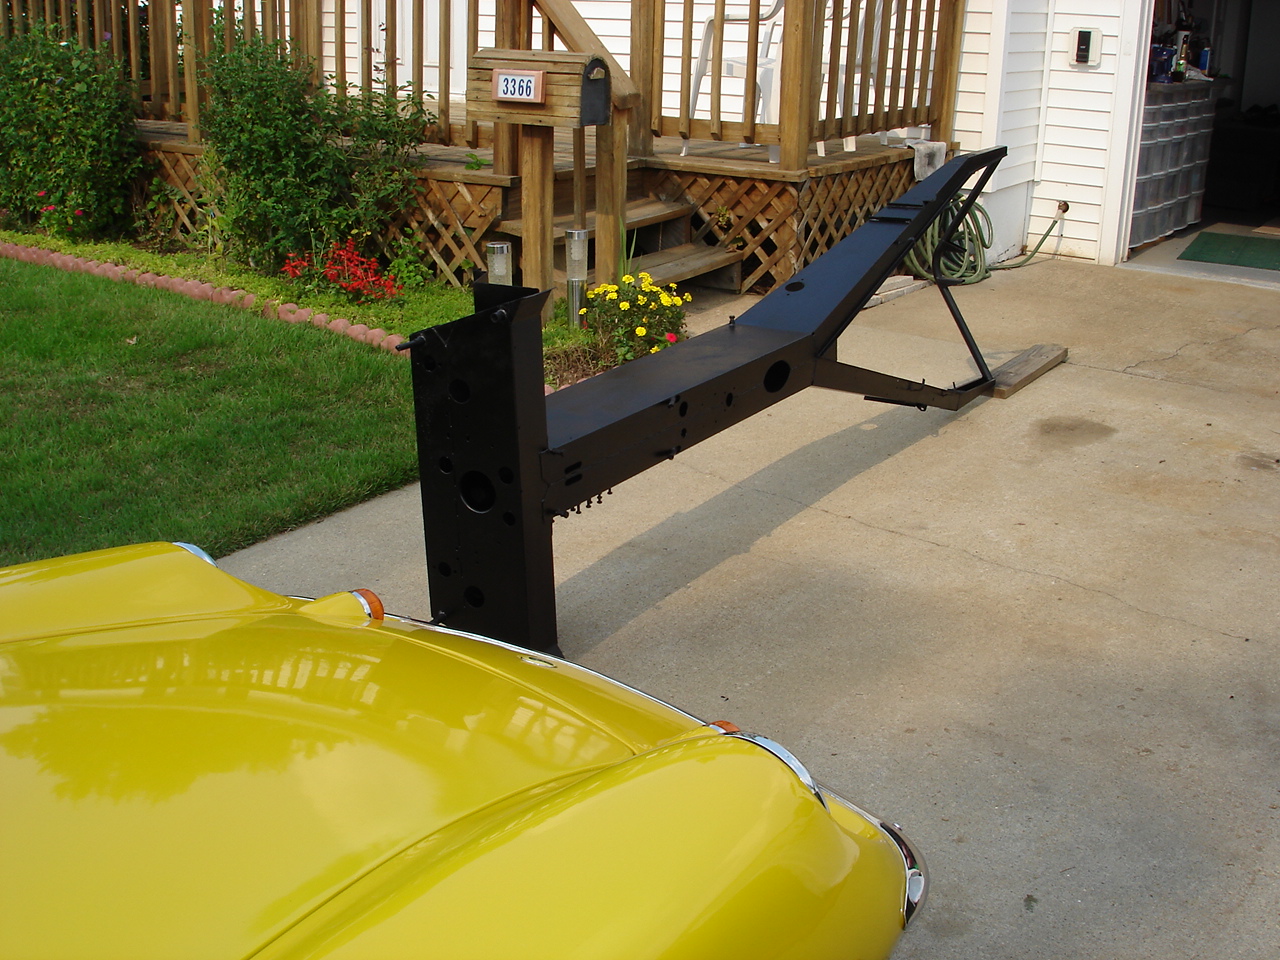
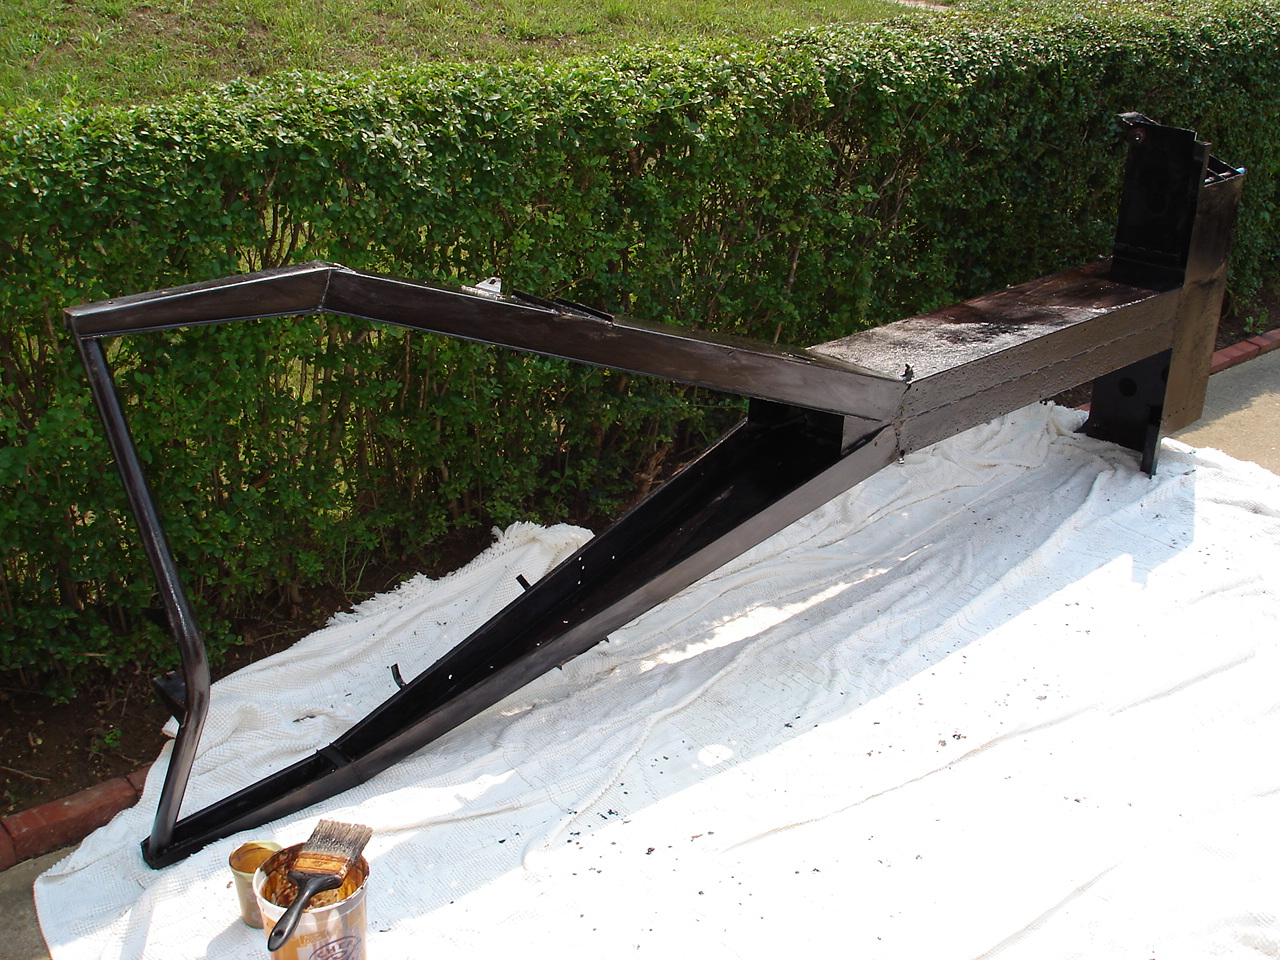
S1A - Sprayed two coats of the Eastwood Rust Encapsulator on the frame this morning. Should be able to spray the Chassis Black this afternoon then the frame will be finished.
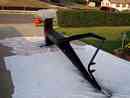
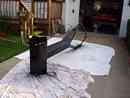
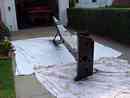
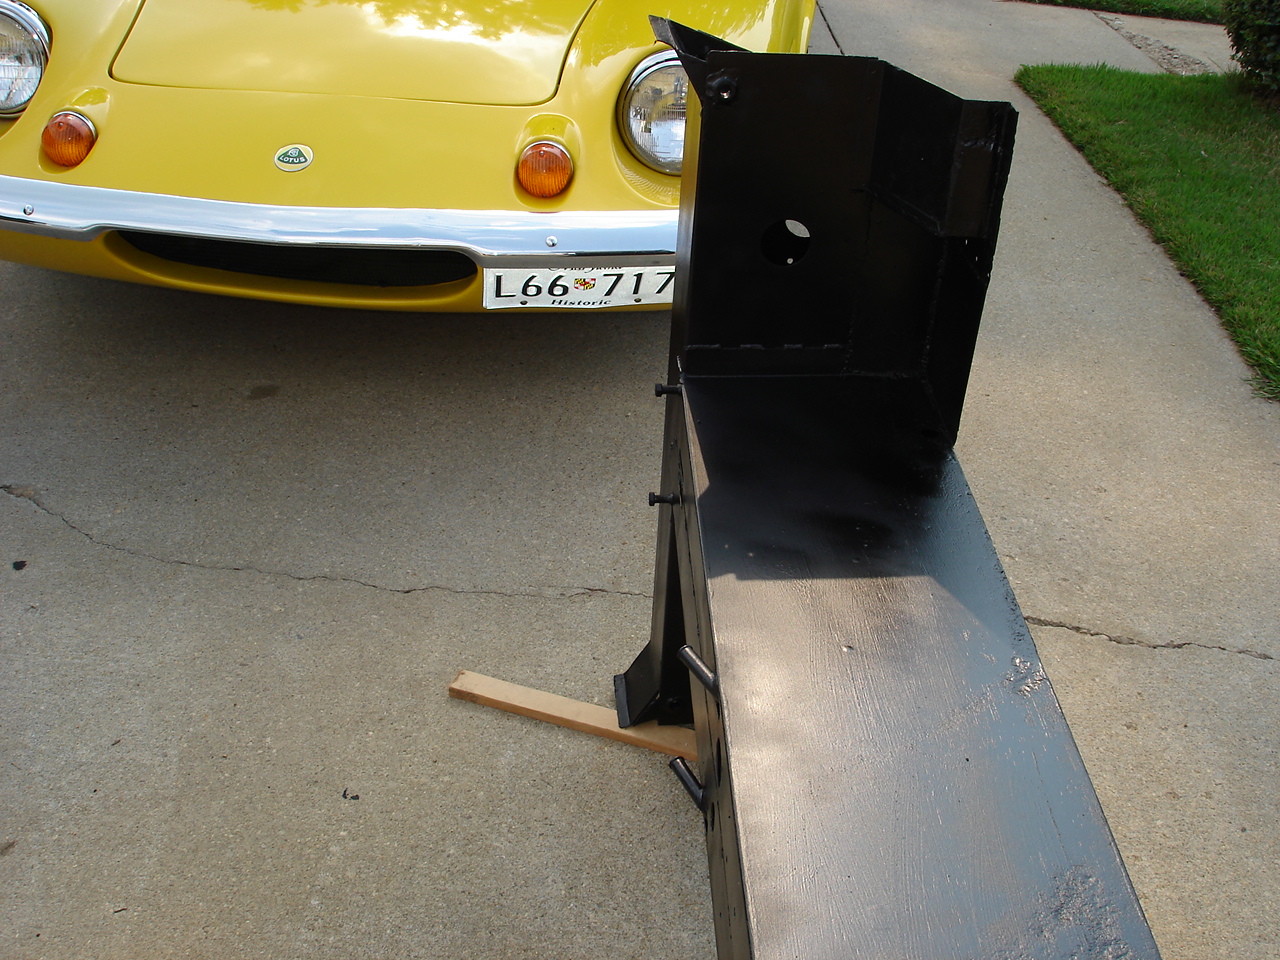
Finished the frame by spraying the Chassis Black this afternoon. Will allow it to dry overnight then store it for use when the body is ready for it.


All of the photos I took of the frame restoration are here.
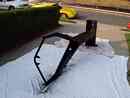
9/8/06
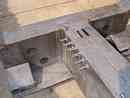
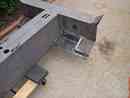
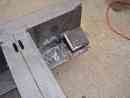
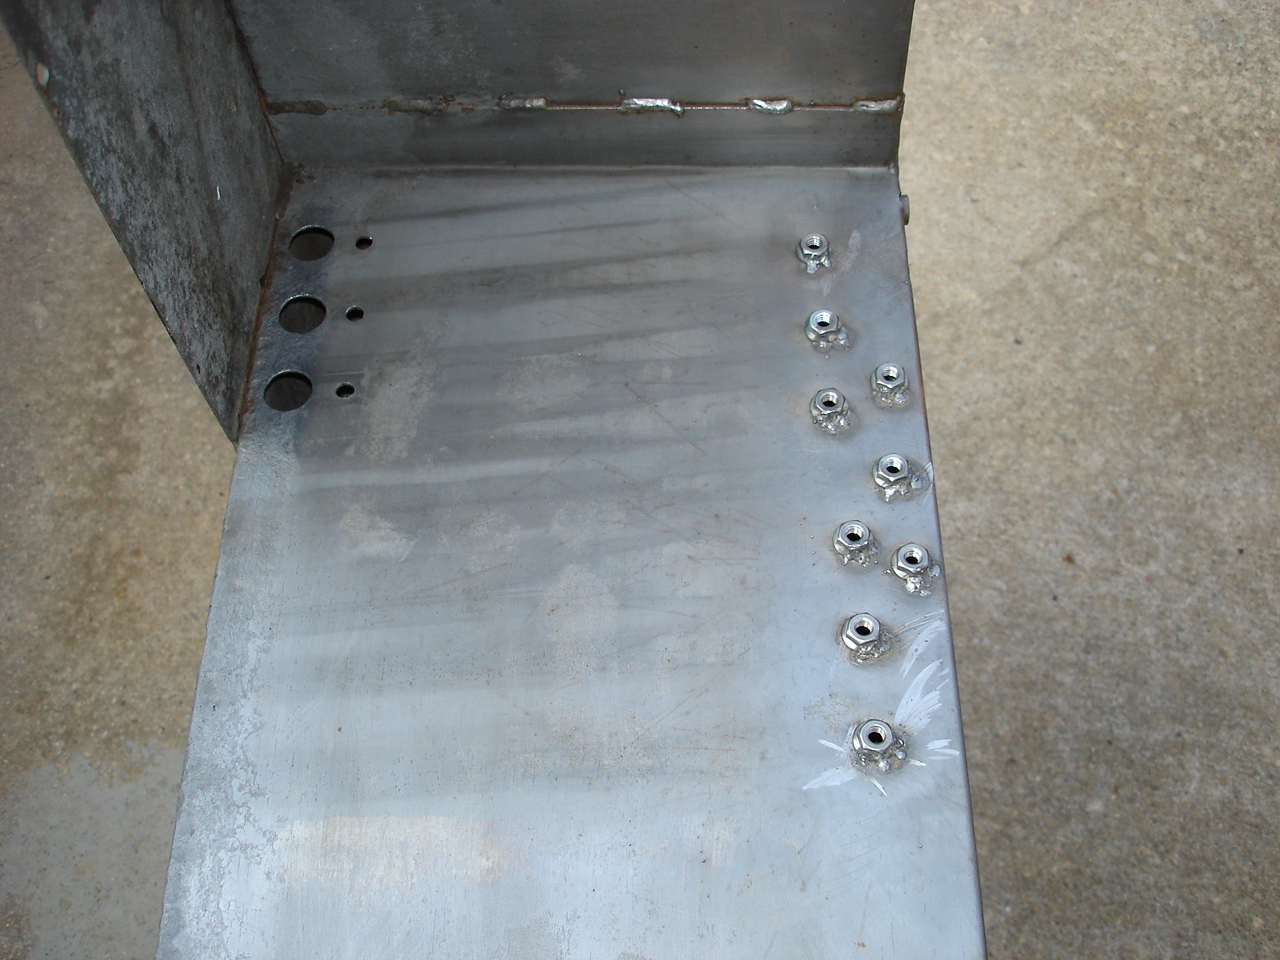
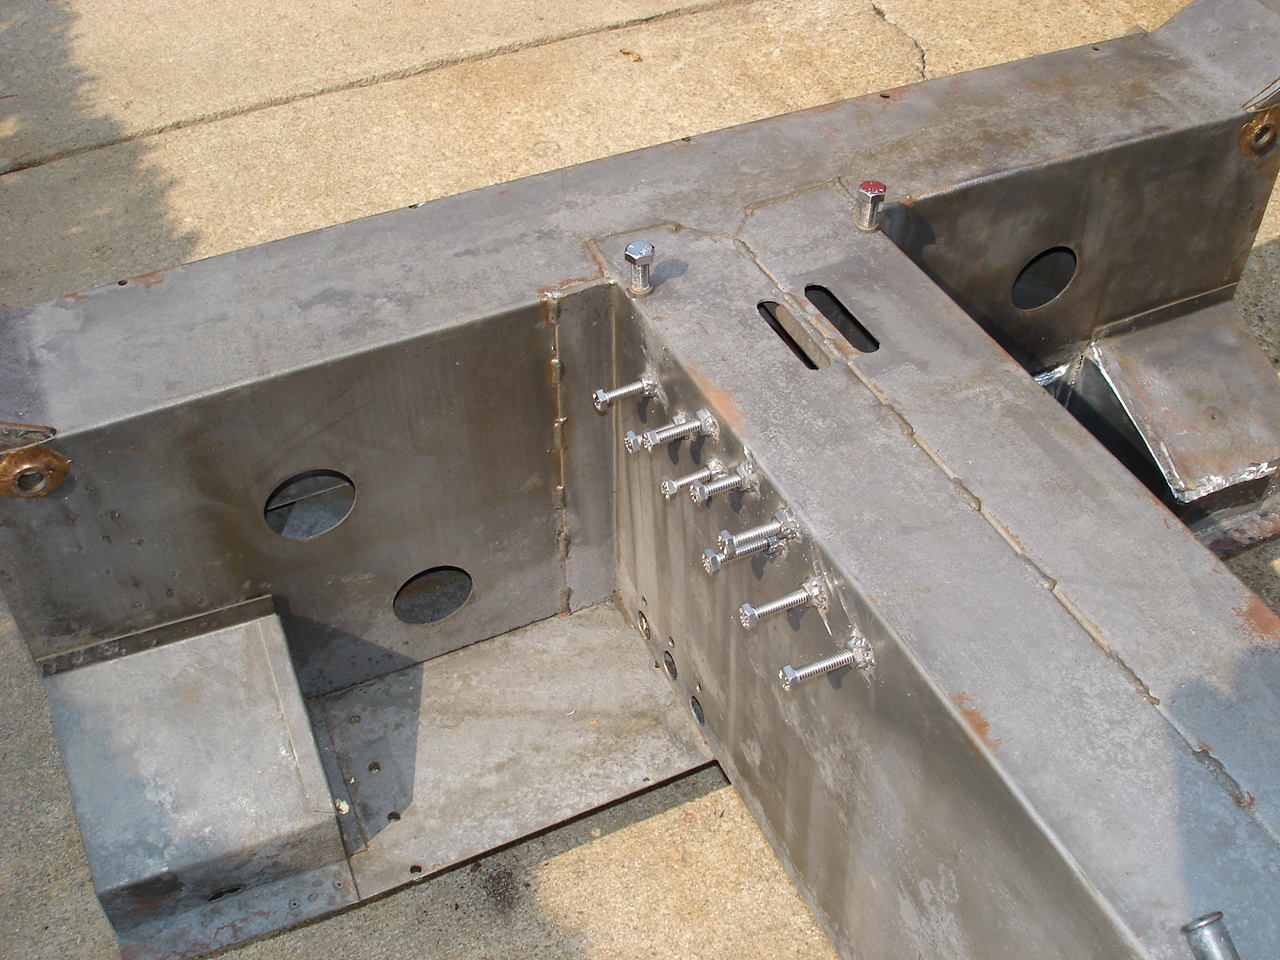
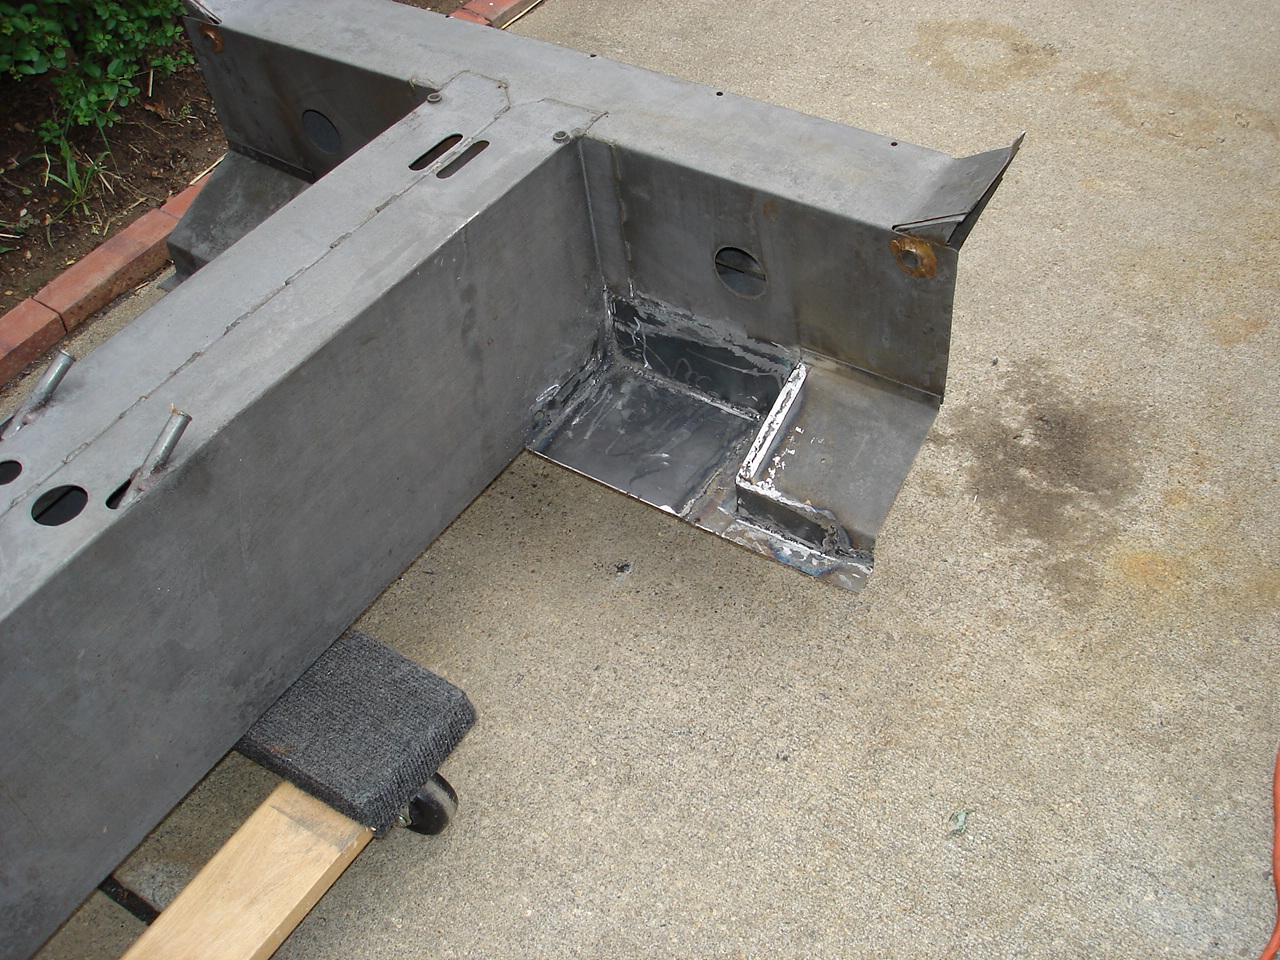
S1A - Tack welded some 1/4 - 20 flare nuts onto the frame where the gas pedal attaches. Installed 7/16 - 20 bolts in the seatbelt anchor holes, 1/4 - 20 bolts in the flare nuts, and 3/8 - 20 bolts in the e-brake multiplier bracket pivot. These bolts will protect the threads from accumulating paint.
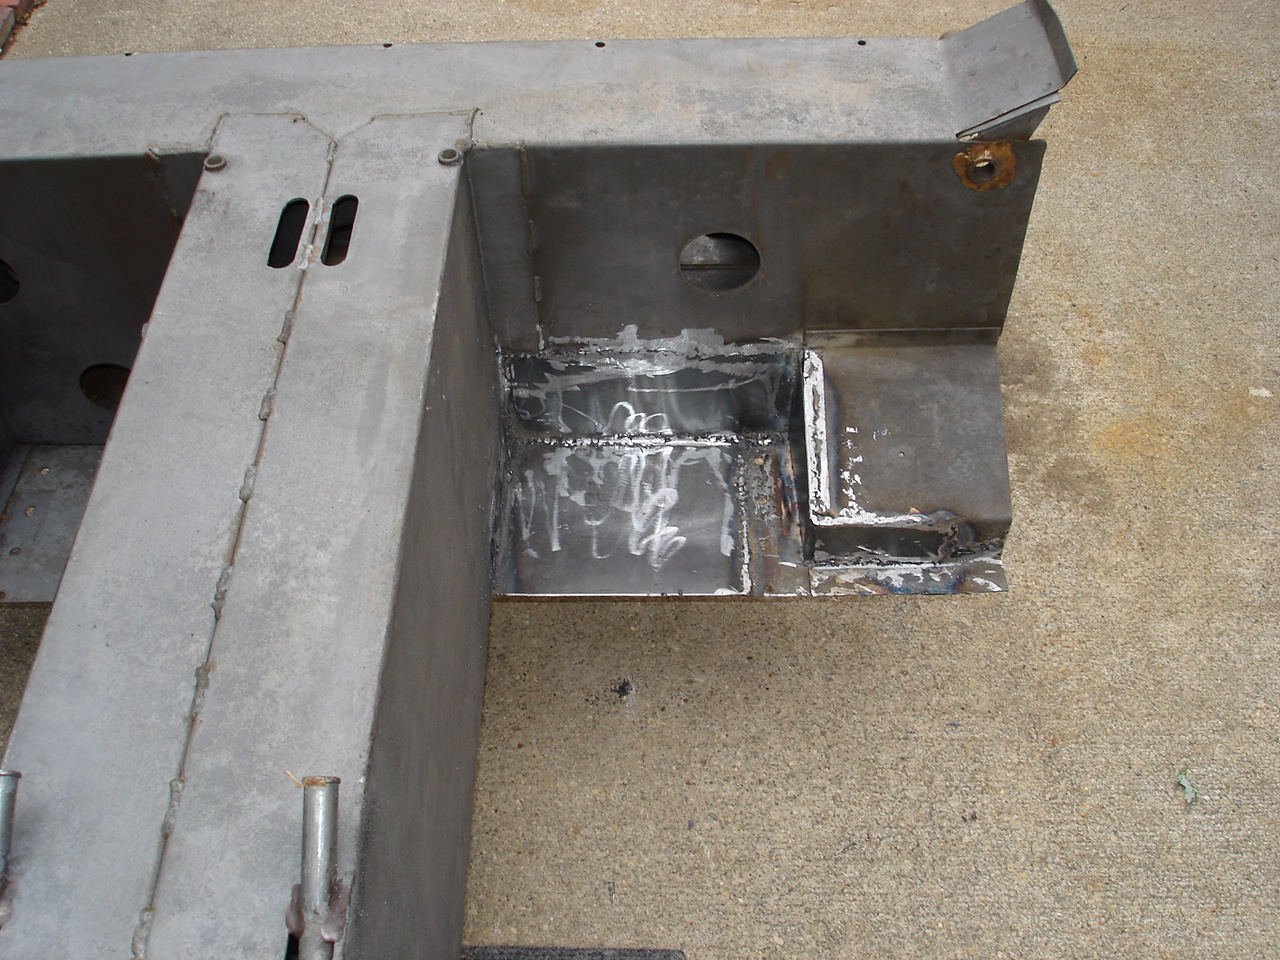
Wire-brushed the entire frame with an assortment of drill-mounted brushes then wiped it down with Acetone to prepare for paint.
Mixed the Eastwood Rust Converter (16 oz of part "A" to 4 oz of part "B"). The resultant mix is light purple but changes to black as it cures. Brushed it on and it was easy to see any spots that I missed. Did the entire frame two coats with a brush. Now it needs to cure overnight before I spray on the Rust Encapsulator.
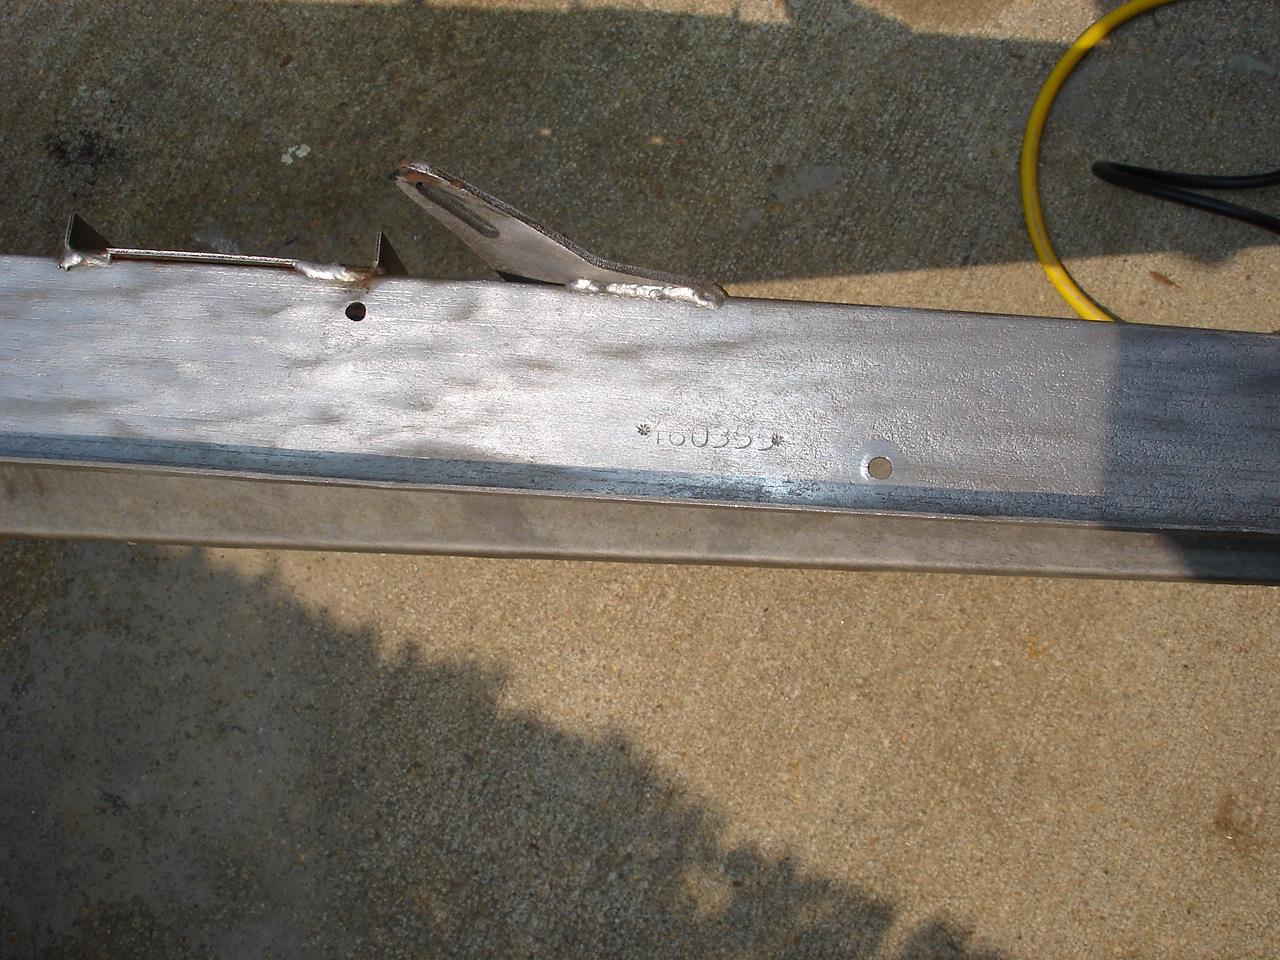
Found the chassis number 460355 stamped in the top of the frame near the right sealtbelt shoulder strap anchor. Taped over the number so I don't obscure it with paint.
Made templates of the pedal attachment holes just in case somebody needs them later.
9/3/06
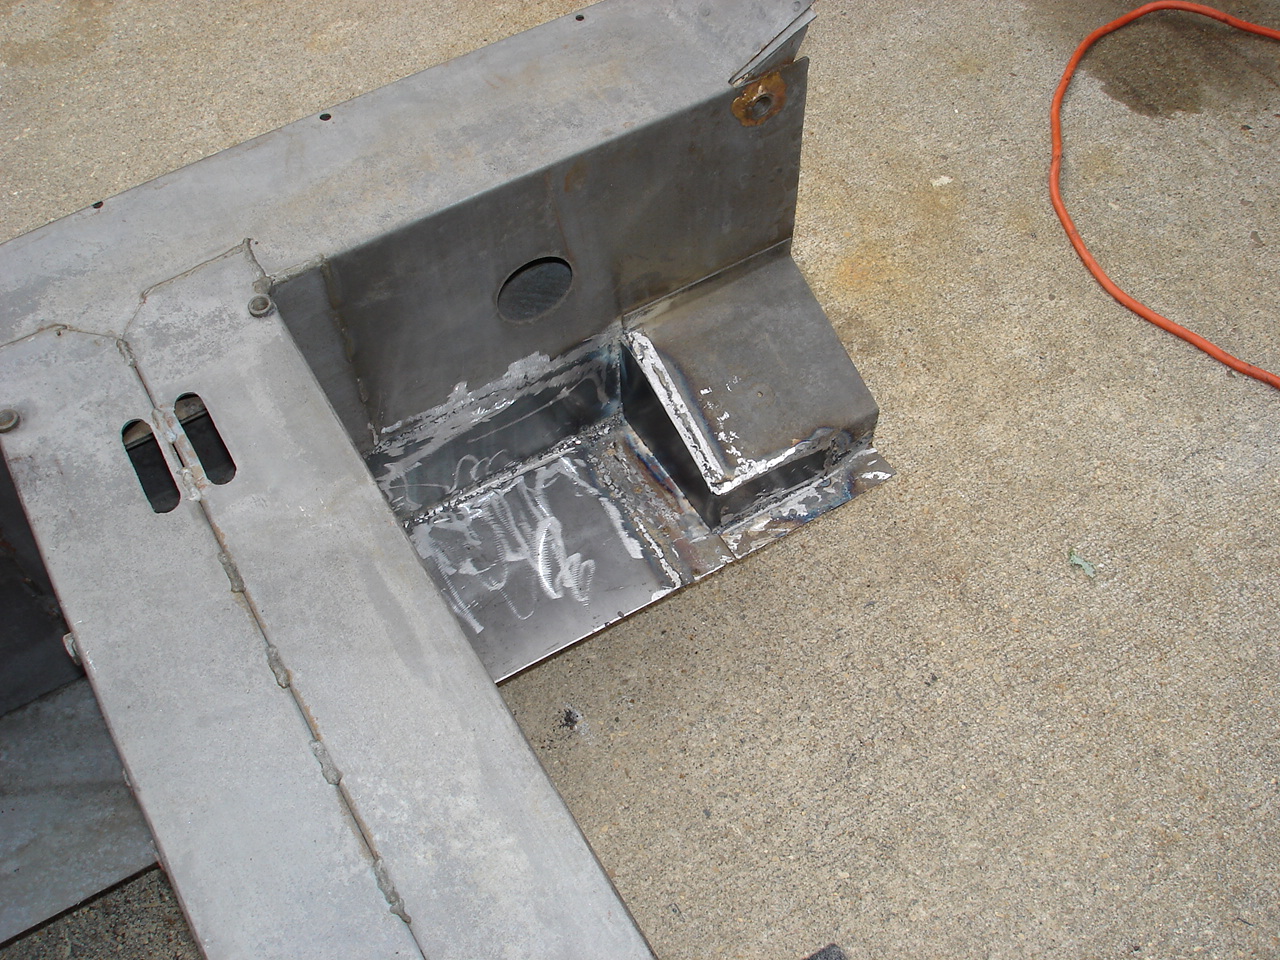
S1A - Welded additional 16 gauge steel into the frame today.
Have to tack some nuts on for the gas pedal before the frame will be ready for paint.
|
|
|


